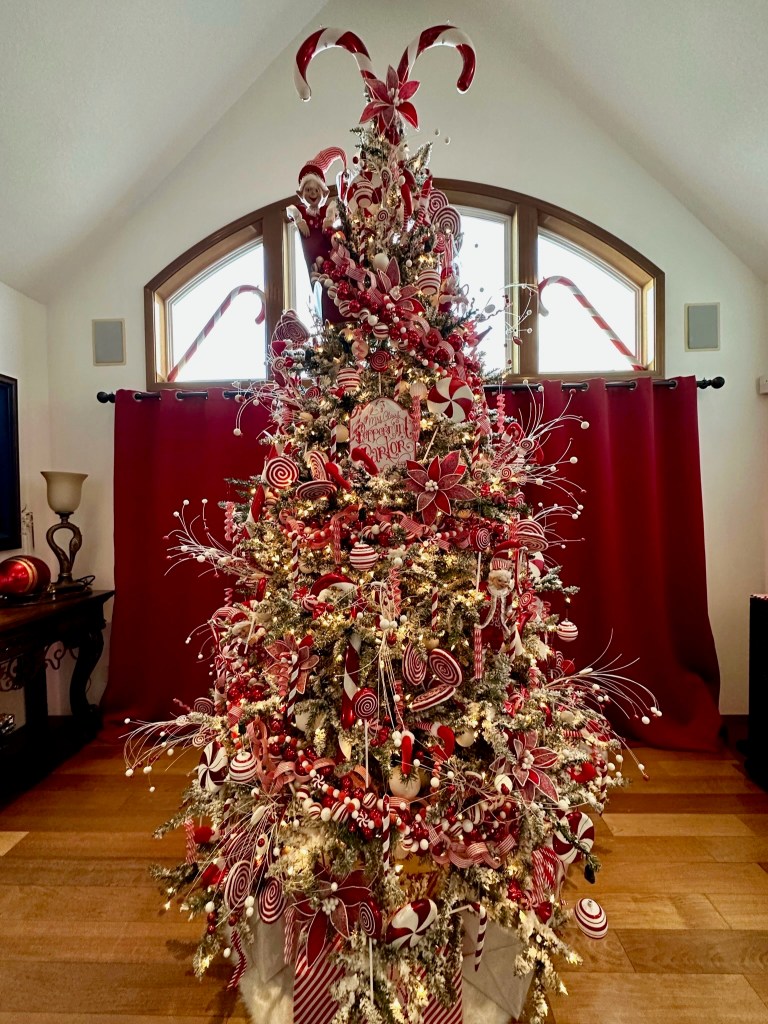
It’s beginning to look a lot like Christmas around my house! I have been preparing for this year’s whimsical theme for quite some time, so it is exciting to finally see it up! I originally decided to do Elves and Candy, thinking everything would be red and green. As I started looking and shopping, I solidified my ideas and visions and decided to use only Peppermint Candy. I had several decorating ideas floating in my head, always reminding myself to maintain an elegant look with a childlike fantasy theme. Keep reading to find out how it turned out!
Before showing you the how-to and the results, I would like to remind you to shop around for the best prices and remember to look for coupon codes, sales, and free shipping. Think ahead on your themes so you can take advantage of after Christmas sales or Black Friday sales. Many of the items I used are from the Raz Peppermint collection, and the candy cane and suckers from Vickerman. There are several places that sell these items from Amazon to specialty collectable sites. I found Alsipnursery.com, where I purchased many items after Christmas at severely discounted prices. I also found a few things on eBay at great savings as well. Just take some time to look around and you can get the look you want for a lot less than regular retail prices. When considering quantities, remember your tree size and to use odd numbers. My tree is 10′ with a fairly large radius, and an almost 360 degree view so it takes a lot to fill it up!
I also want to say, I found this was the easiest theme to put together. I didn’t have any complicated floral arrangements or large bow making. So, I didn’t find it necessary to take a lot of pictures as I went along. I assembled all of the individual items and then just started sticking them in their places! This year, I had a real Christmas Elf to help me out – my wonderful Mom spent the weekend handing me the next thing I needed to save me from going up and down the ladder. It was also great to have her be able to step back and let me know how things were looking as I worked.
I decided that my regular draperies would conflict with the red and white stripes of the theme. I replaced them with red panels. This gave a beautiful backdrop to the theme and color scheme.
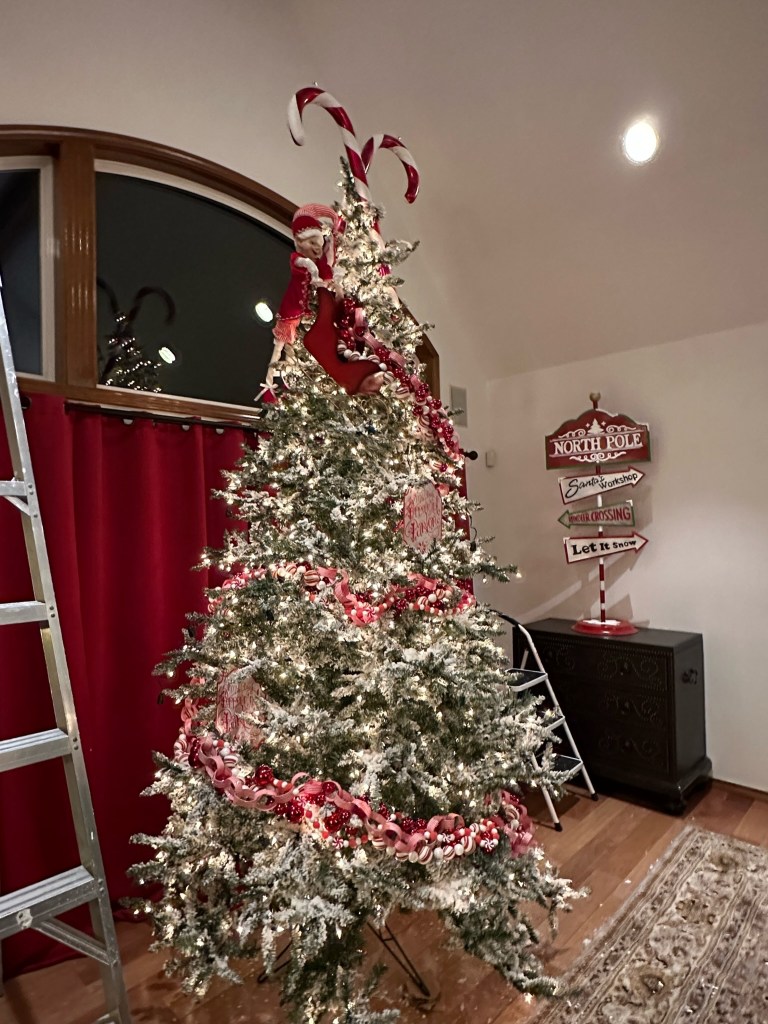
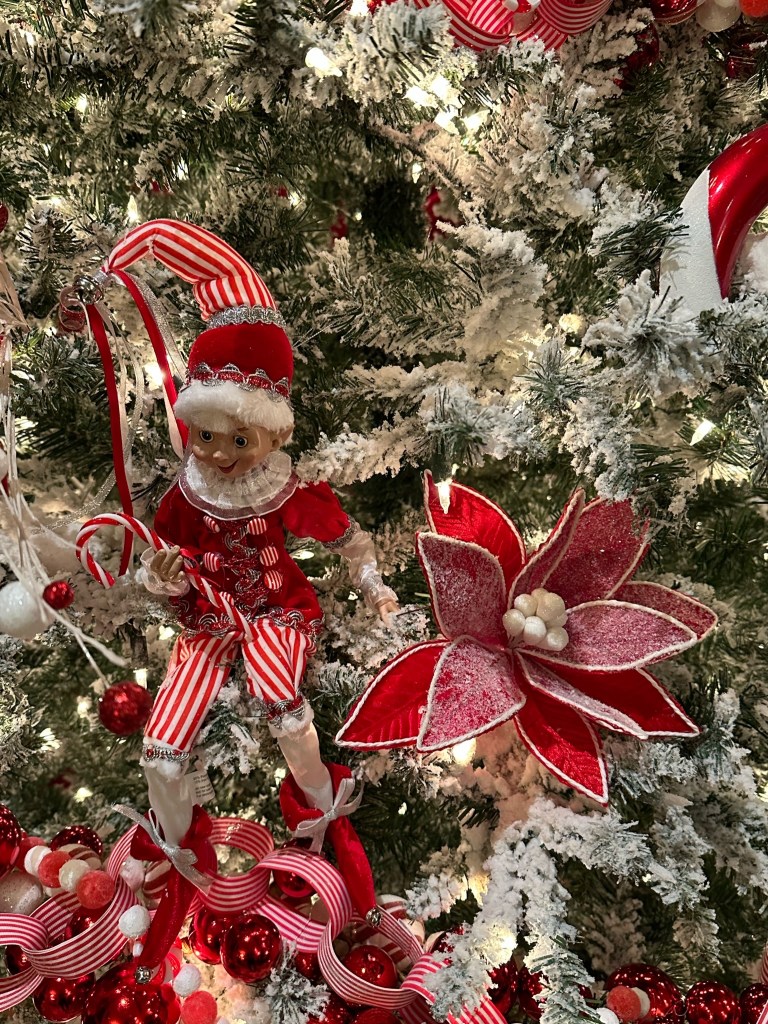
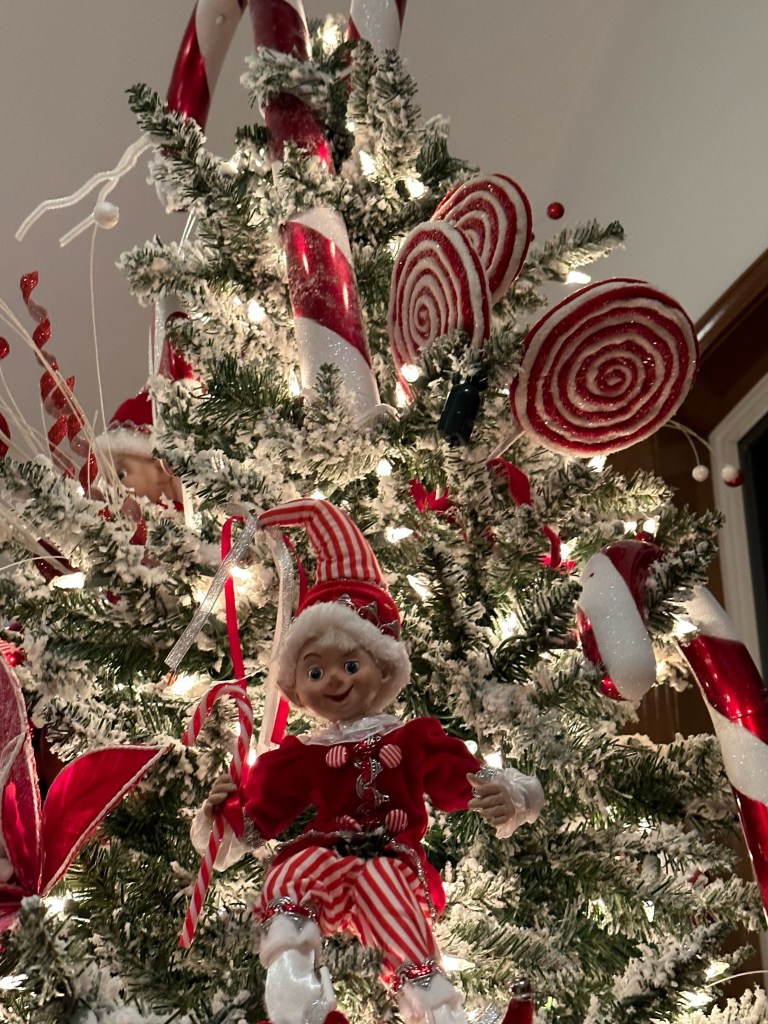
I began at the tree top. I fixed the extra-large candy canes, using white pipe cleaners to cross them, placing one in front and one in back of the tree top. After making sure they were at the same angle and height, I started to work on my idea to have a large elf dumping the garland out of a sleigh. I first tied the sleigh into place, making sure it was secure. Then I tied the 30″ Peppermint Elf to the branches. I moved his hands to hold the top of the sleigh. Once sure they were solidly in place, I moved to the next step.
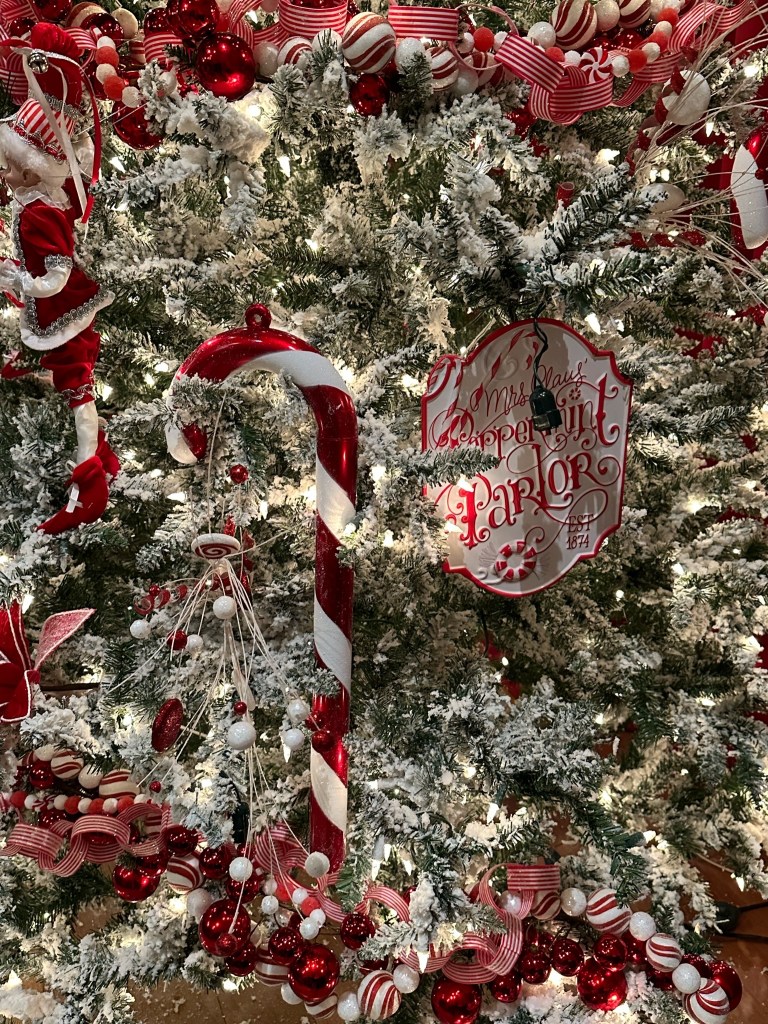
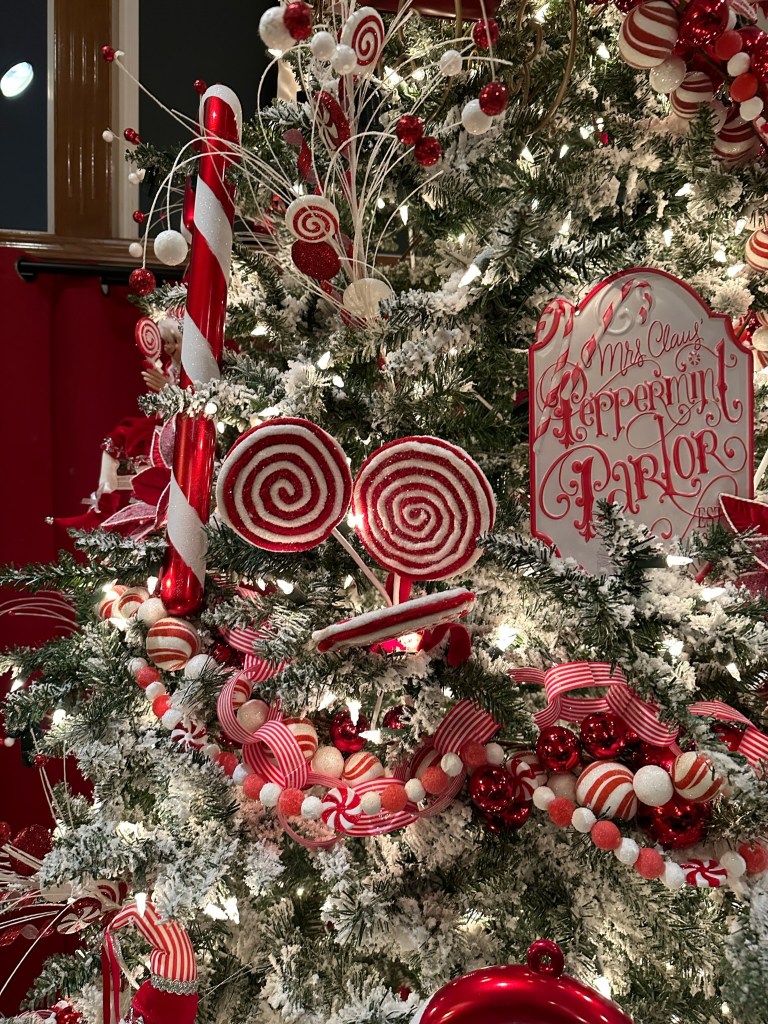
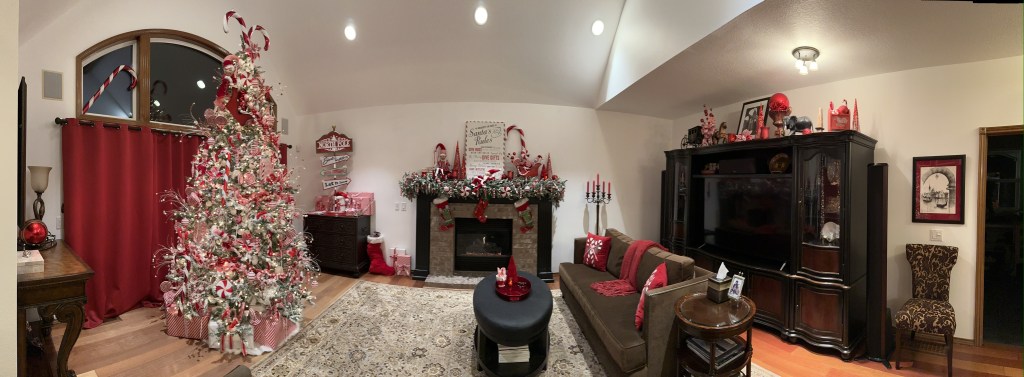
I would normally place the innermost ornaments next. However, I was uncertain if my idea for the garland would work, so I began with that first. I had several small garlands I wanted to combine. I started by placing the red ball garland first. As it had a stiff base, I used it to support layering the rest of them: peppermint chain link, peppermint ball, and peppermint & gumdrop garlands. I fixed them to all start in the sleigh and fall around the tree in a typical garland swirl (Note: I found the sleighs 2 years ago on extreme clearance at Hobby Lobby for $7 each. They are sold out, but always have other options). I was glad I did this first, as I realized I needed to nix my plan to use red ball ornaments all over the tree to keep the flow of the garland visible. I ended up not using any other red ball ornaments on the tree. Placing the garland first helps to give zones for spacing the larger elements. I started by placing the five large candy canes, six 16″ Peppermint elves, and three Mrs. Clause Peppermint Parlor metal signs. (I actually found some signs at a discount on eBay!) I felt the large scale of the signs would help bring focal points and some relief to the rest of the business to come. It also conveyed the theme quite clearly! I wanted at least one sign visible from every angle. I tried to stagger the height and spacing of all the larger theme pieces around the tree.


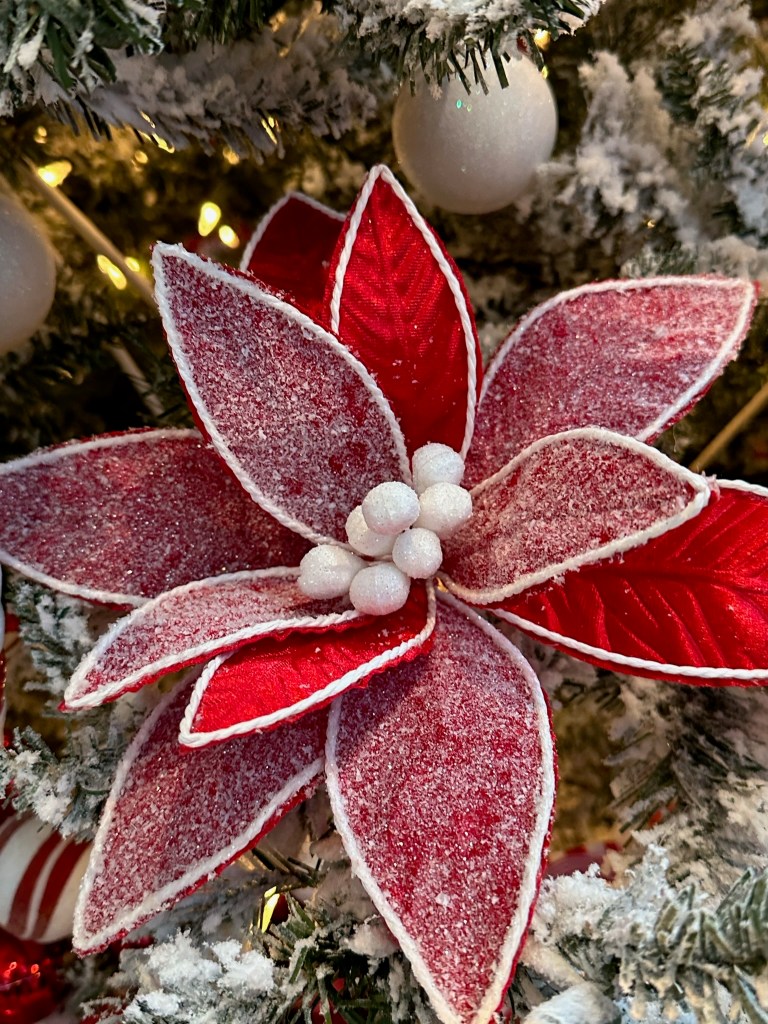
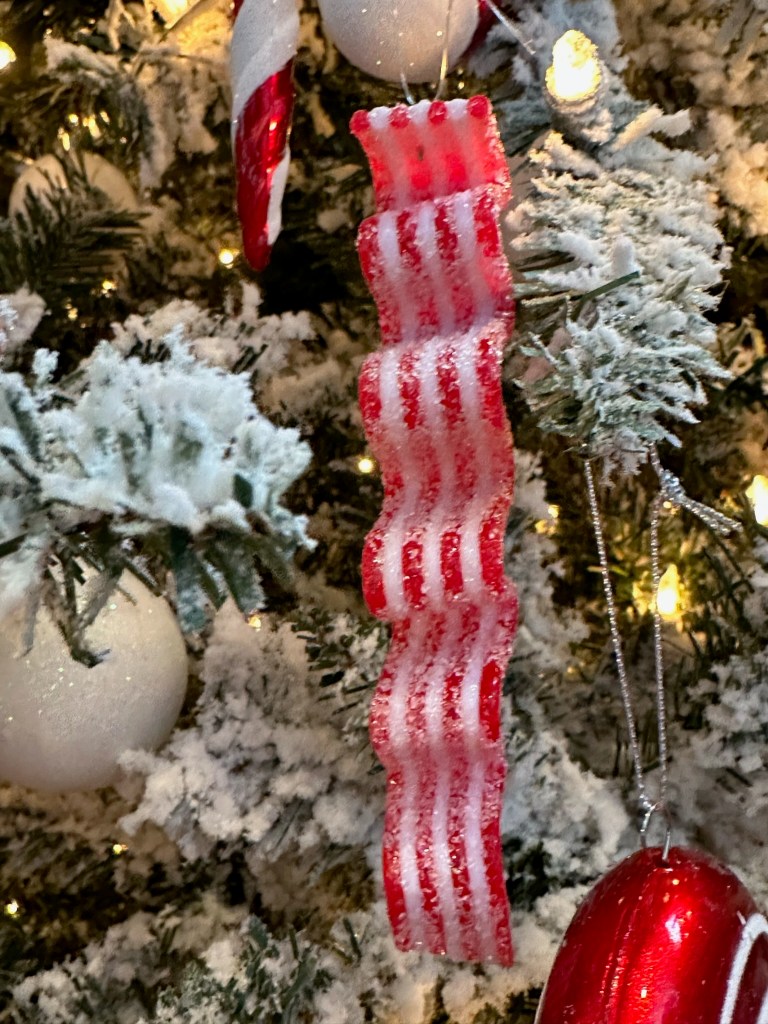
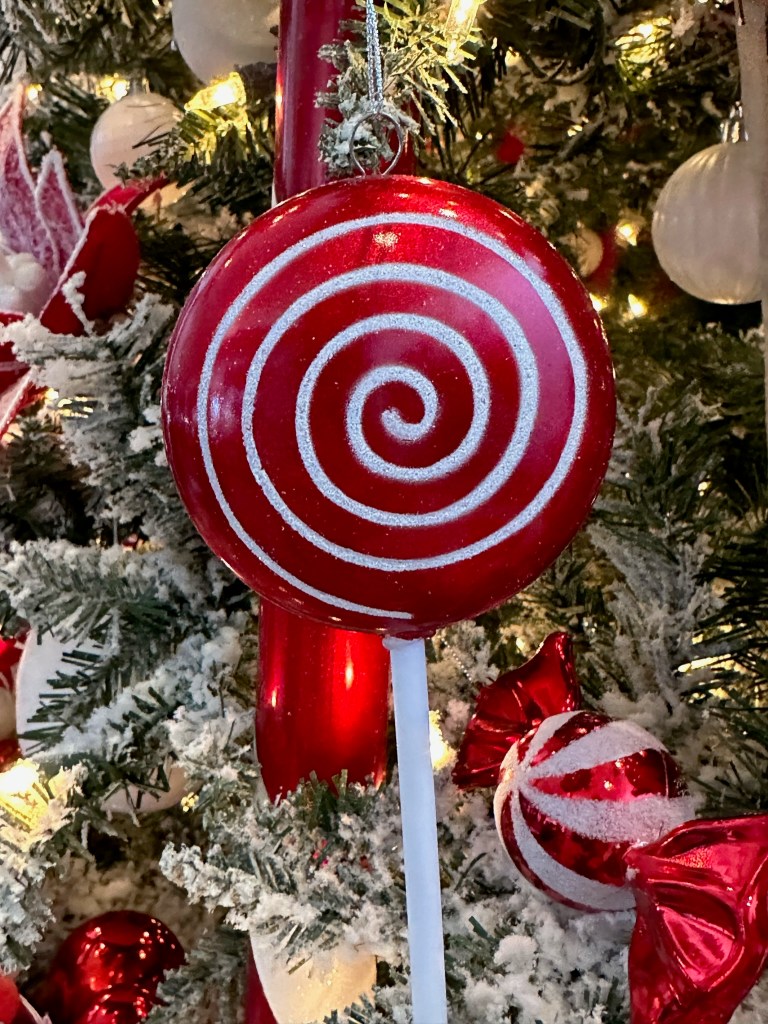
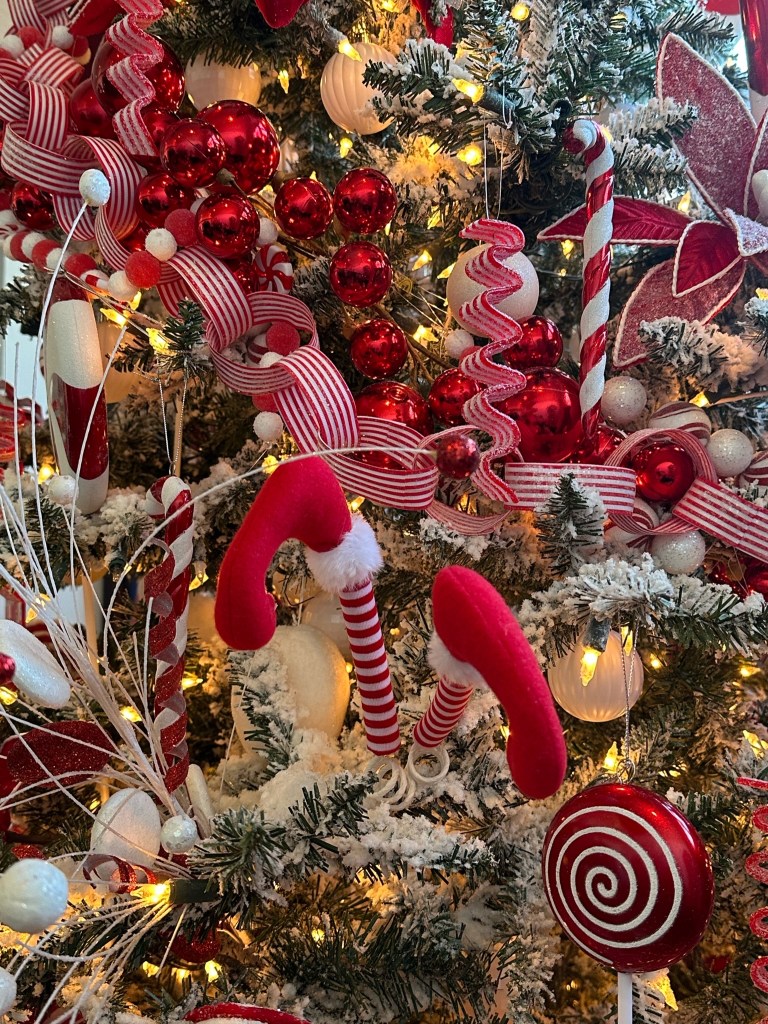
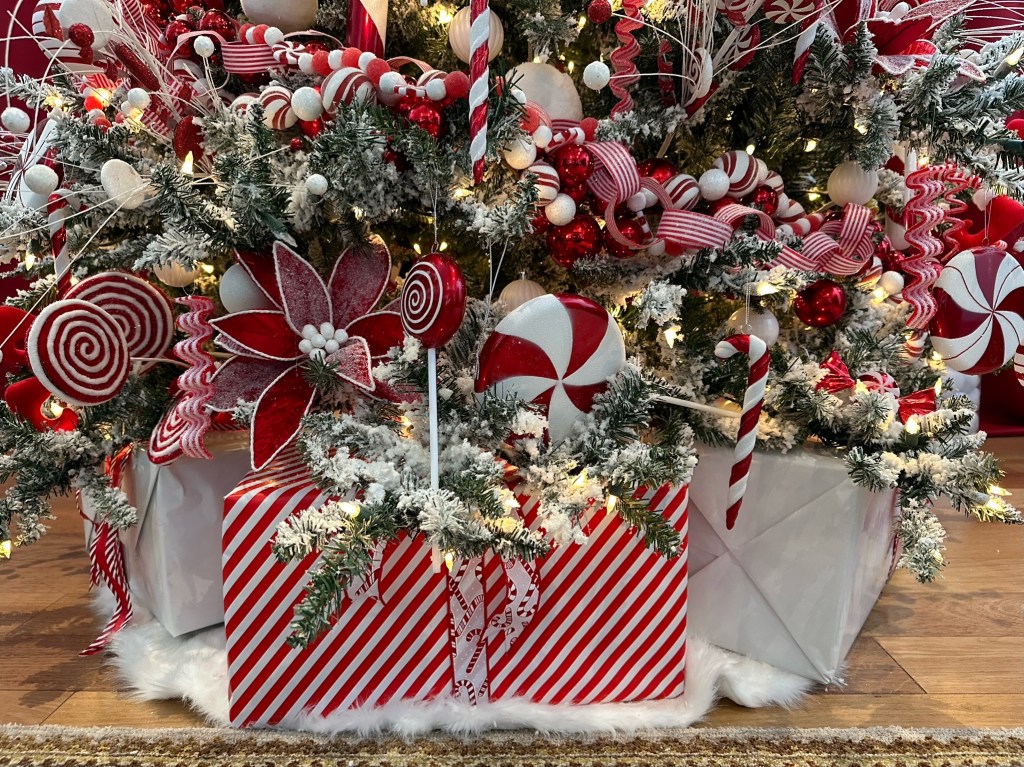
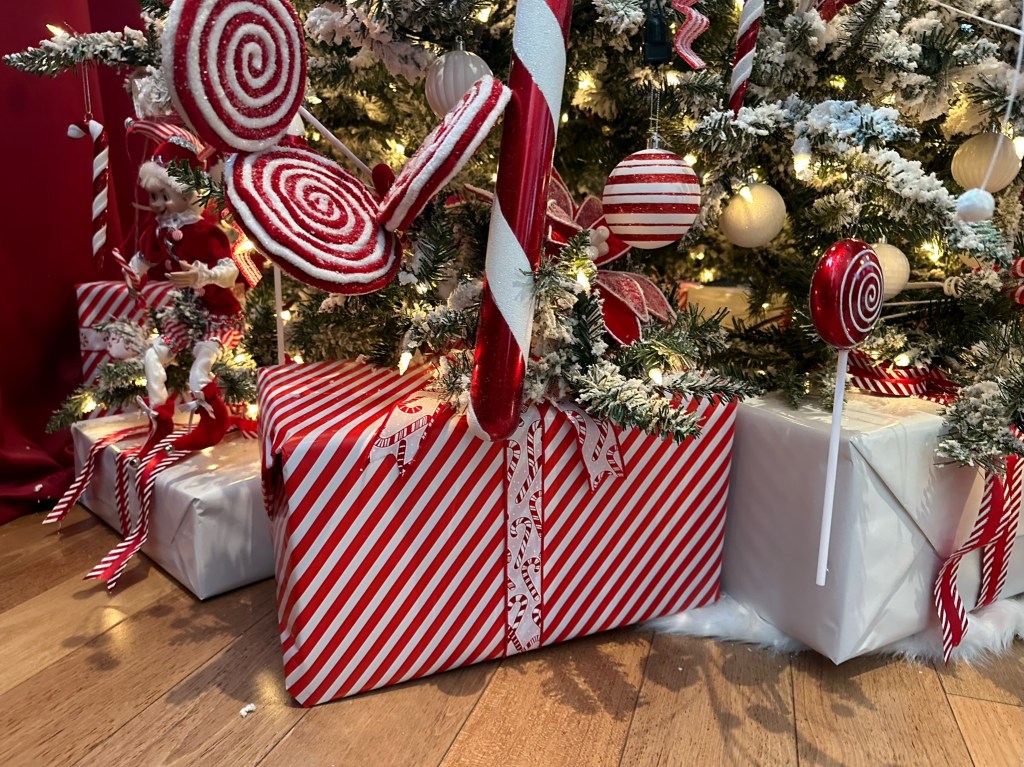
I then started filling in spaces with the larger candy items. I had peppermint suckers (some without sticks to use at the bottom), chenille peppermint lollipop sprays, and small spiral suckers. I had a limited number of floral stems and candy sprays. I wanted a floral stem that worked for the theme, but wasn’t peppermint specific, so it would be more versatile in future. I found the red velvet frosted poinsettia and loved it! The glittered sprays gave me the opportunity to bring even more whimsy by having them protrude out from the tree at different angles. (I find the quality of the floral from Decorator’s Warehouse consistent and they offer great variety, as well as nice sales throughout the year.)
After these items were placed and I felt there was balance (not exactly symmetrical or mirrored, as it has some asymmetrical placement, but distributed to give overall balance to the whole tree), I placed the inner white ornaments and snowballs. They aren’t the focus, but they give depth and fill in the empty places.
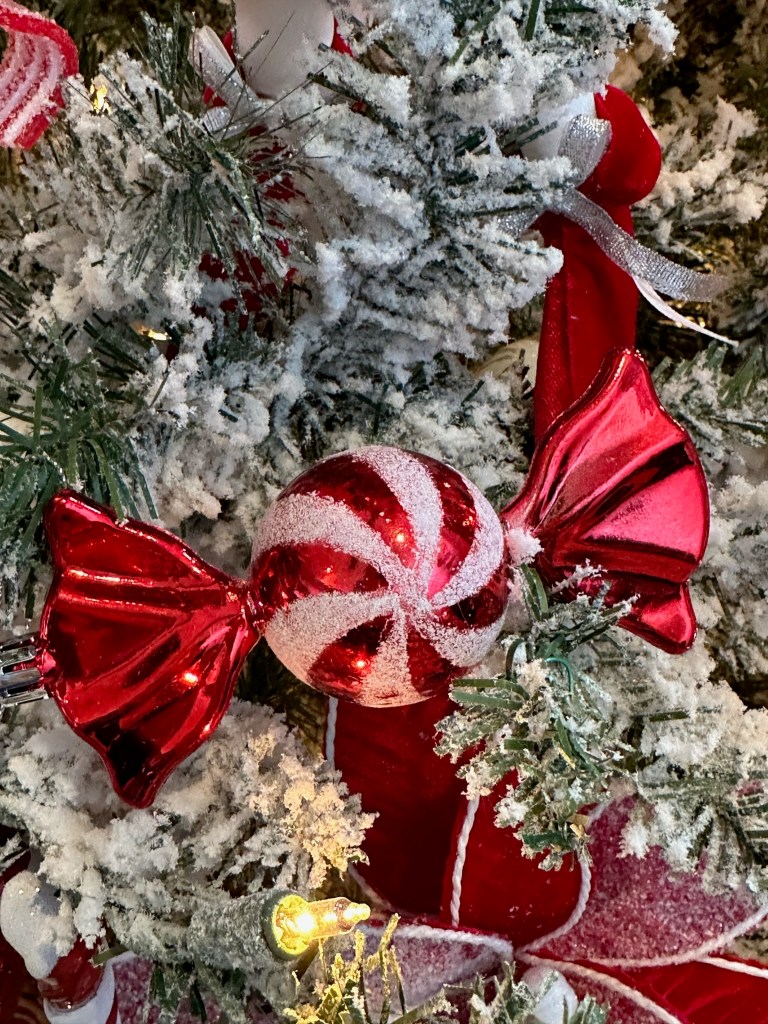
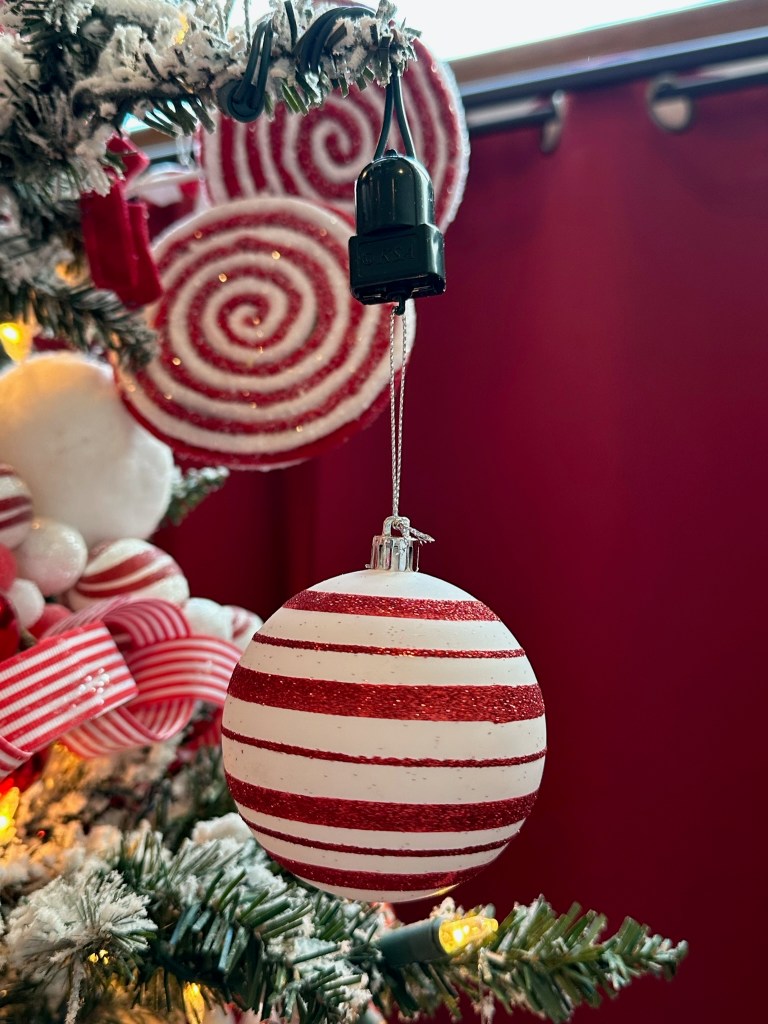
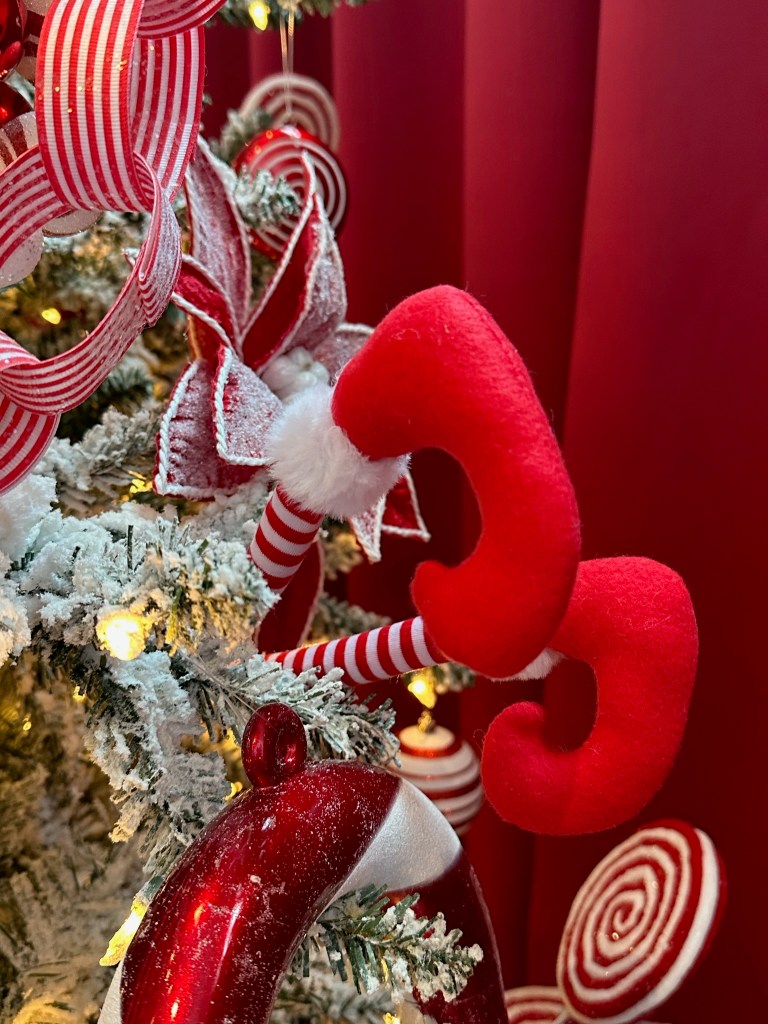
Then, I figured out where to place my spinners and the glittered peppermint balls. For the final whimsical touch, I placed the elf leg picks. I finished with some wrapped peppermint candy ornaments, perching them on open branch tops and then placed small candy canes and glittered ribbon candy on the outermost tips and edges!


Around the bottom of the tree, I used a furry white tree skirt, and then wrapped “faux presents” to fill the space, support a couple branches, and bring home the theme with more candy cane paper and ribbons! I used candy cane ribbon on the striped paper and peppermint striped ribbon on the white.
This year instead of putting the presents in a sleigh, I found the North Pole sign. I used the same wrapping and ribbons as under the tree, but these are real presents under the sign! Next to the chest, I filled Santa’s Stocking with little gifts for the kids visiting us during the season.

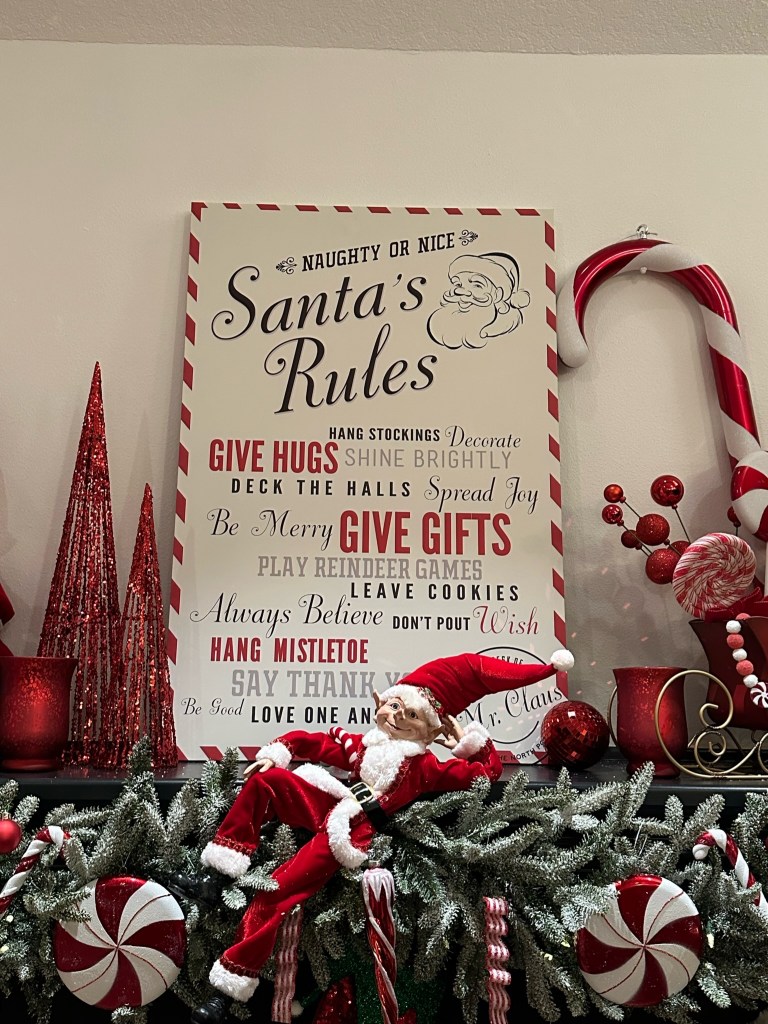
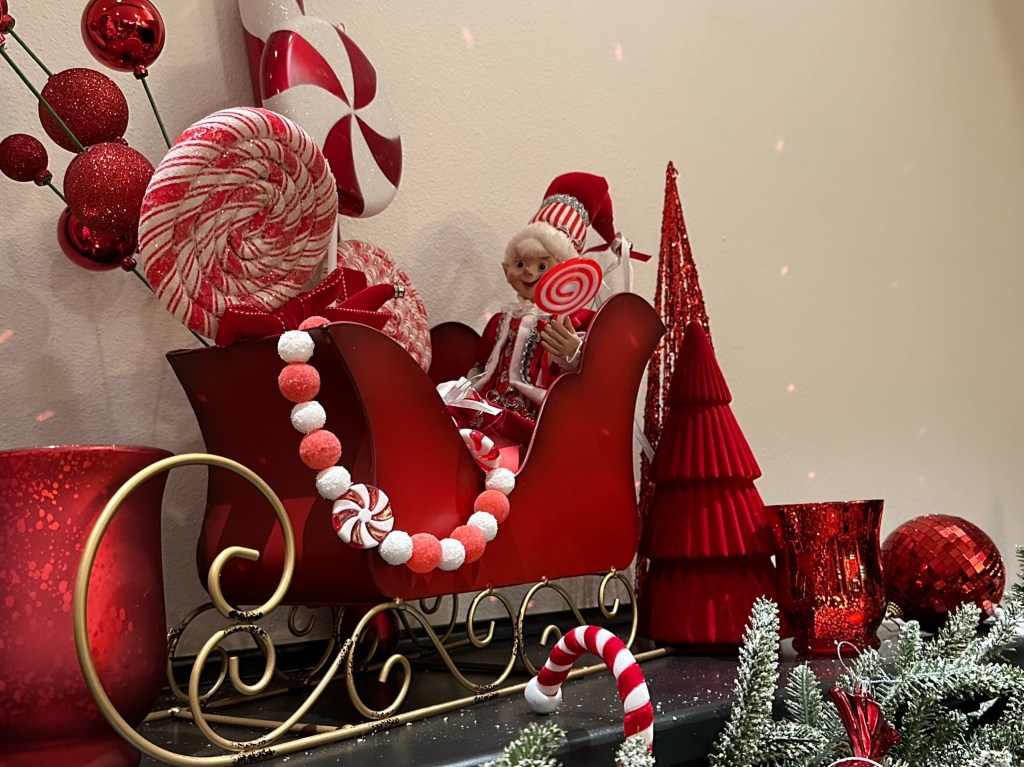
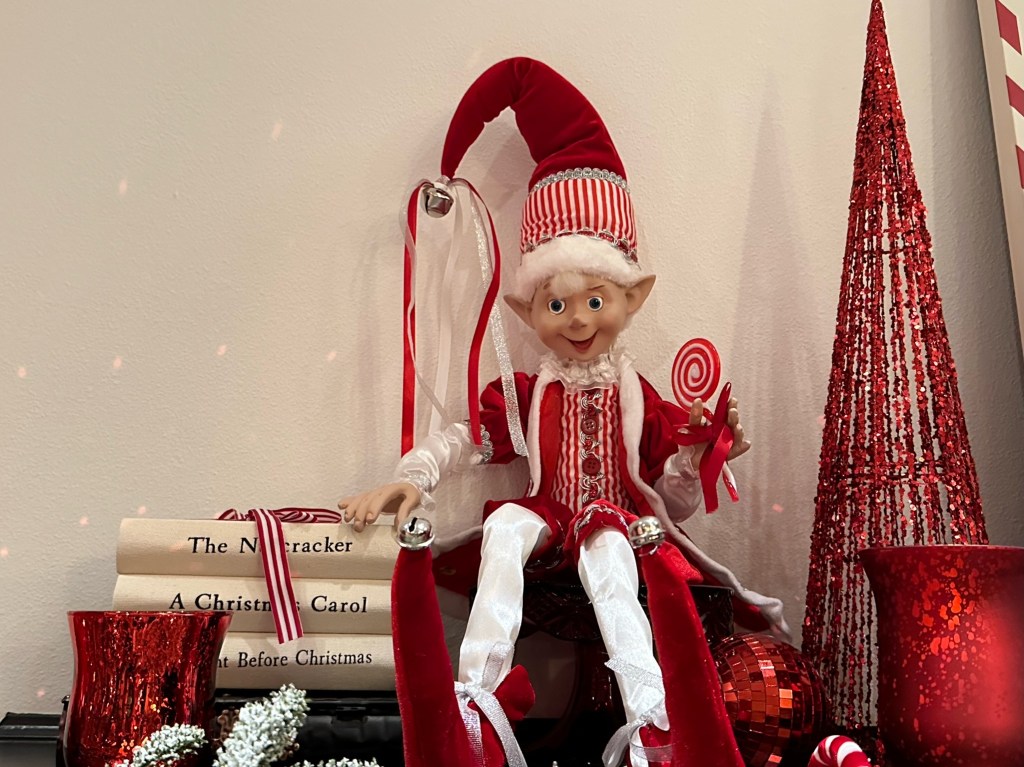
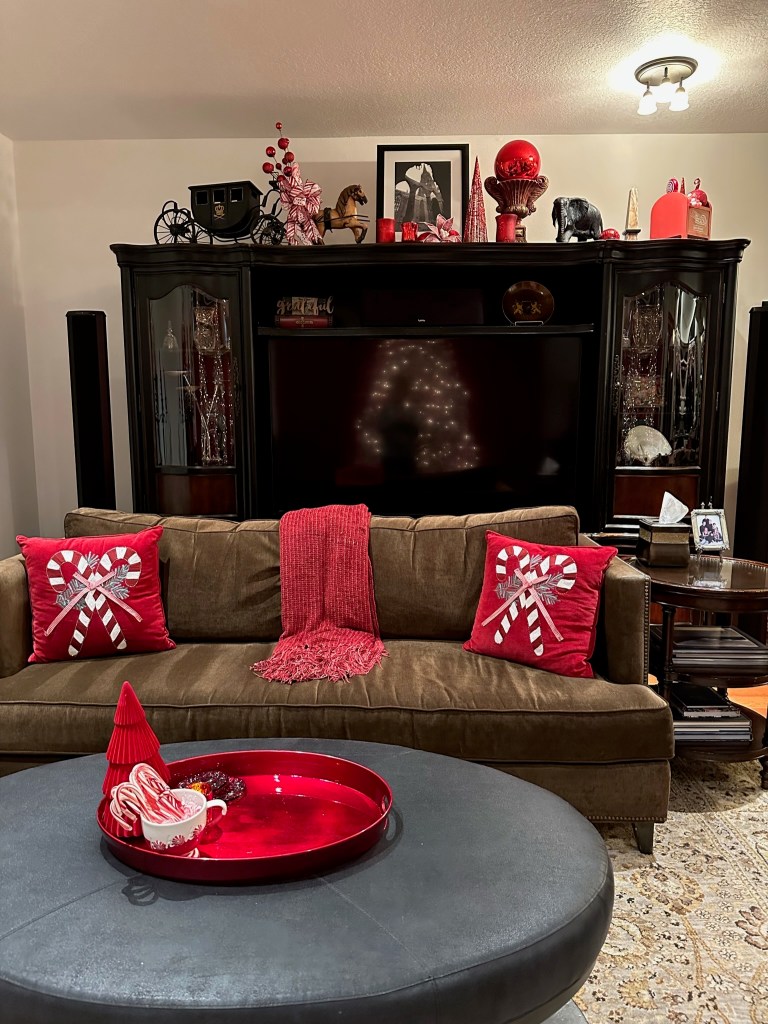
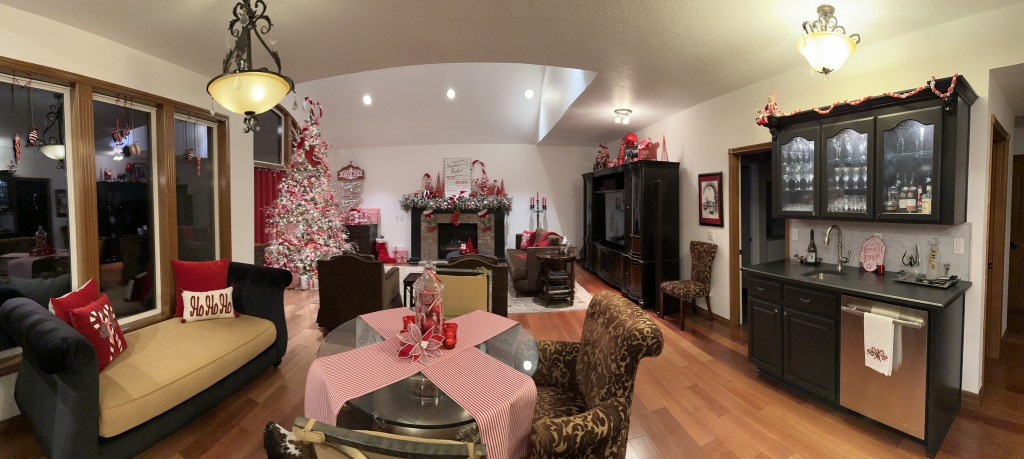
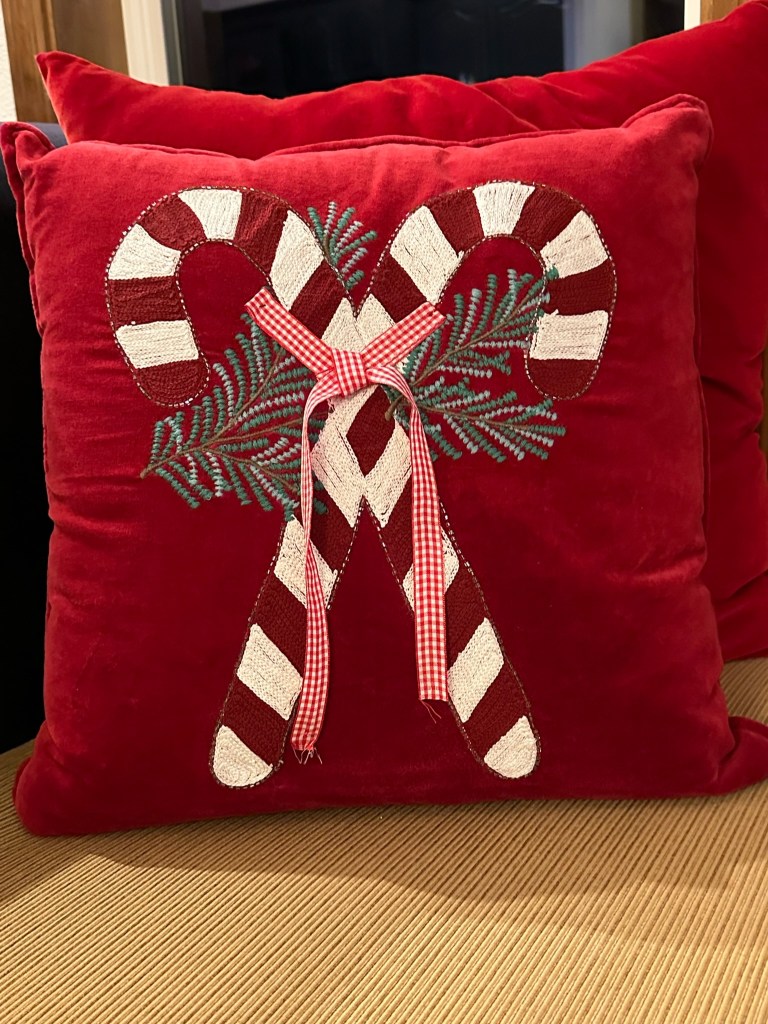
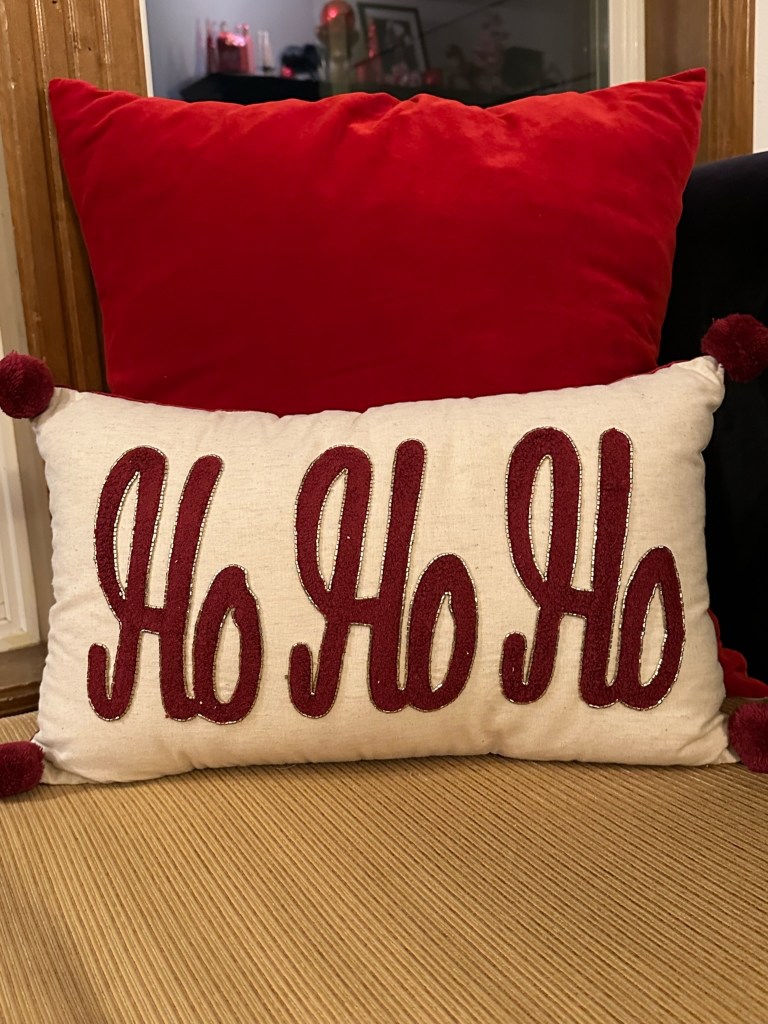
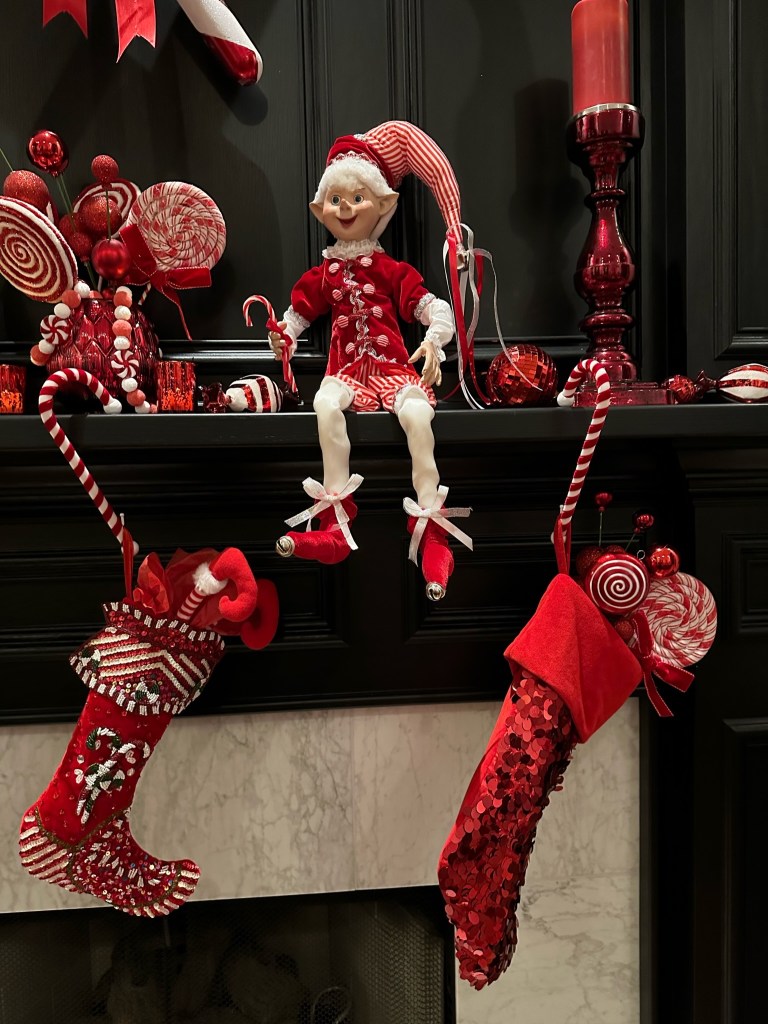
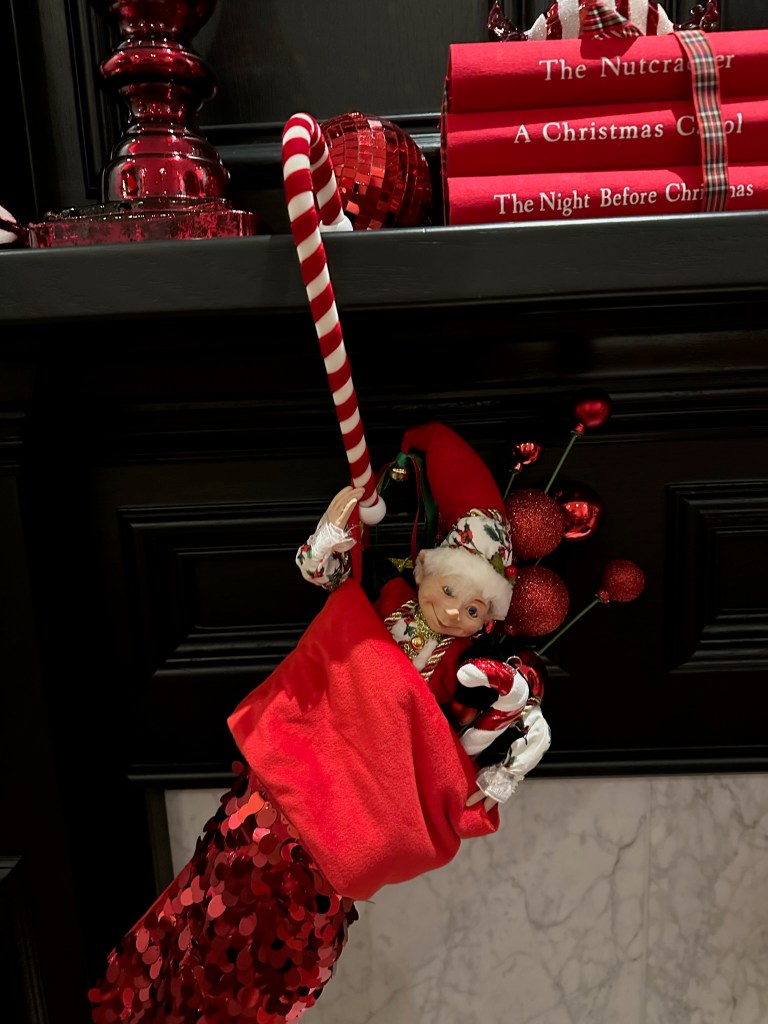
On the Great Room Fireplace Mantel, I started by hanging the lighted garland and elf stockings. I started at the center and worked my way to the corners placing the candy and red ball ornaments. I used another elf at the center, but this time wearing a Santa costume! I centered the Santa’s Rules artwork and then placed the sleigh and large elf on either side. I filled the sleigh with candy and a red ball spray and perched the large elf on a small red glass cake stand. He is resting his hand on a stack of Christmas books. I used one large candy cane and several cone trees to fill the rest of the space. I placed some red mercury glass votives to bring a touch of candle flicker to the room. I placed some themed pillows on the furniture and remembered to decorate the top of the TV armoire.

The dinette table was dressed using reversible table runners and an apothecary jar filled with ornaments. Atop the Bar cabinets an Elf is busy decorating! I removed the normal window treatments above the backless couch and replaced them with glass peppermint and icicle ornaments.
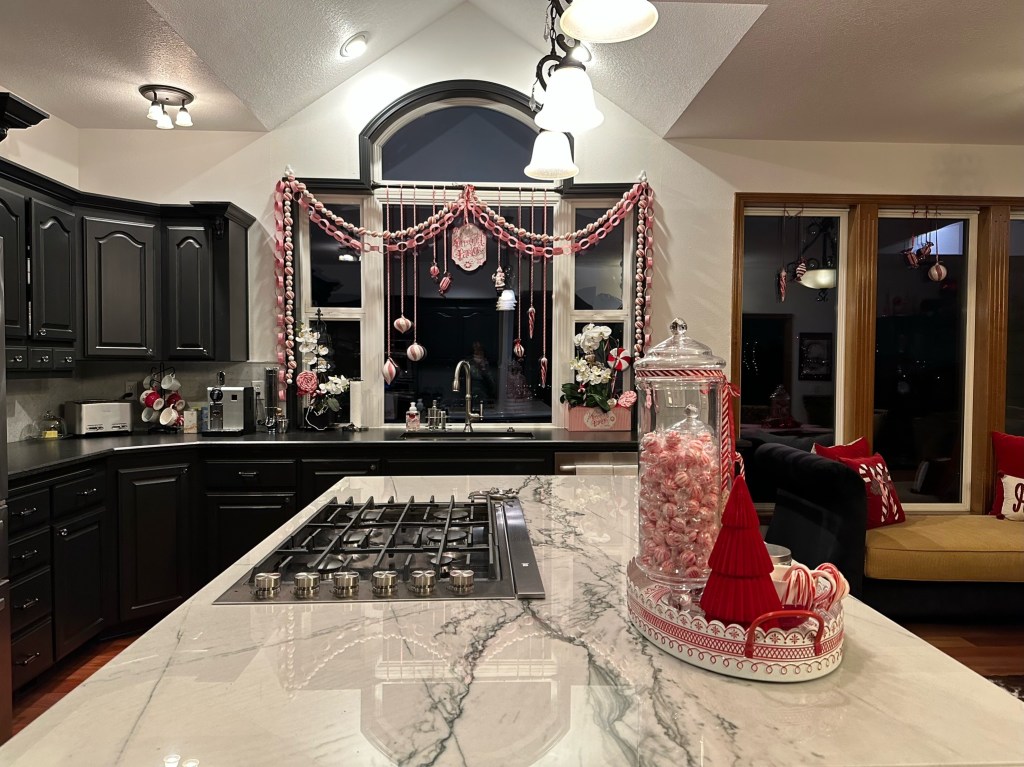
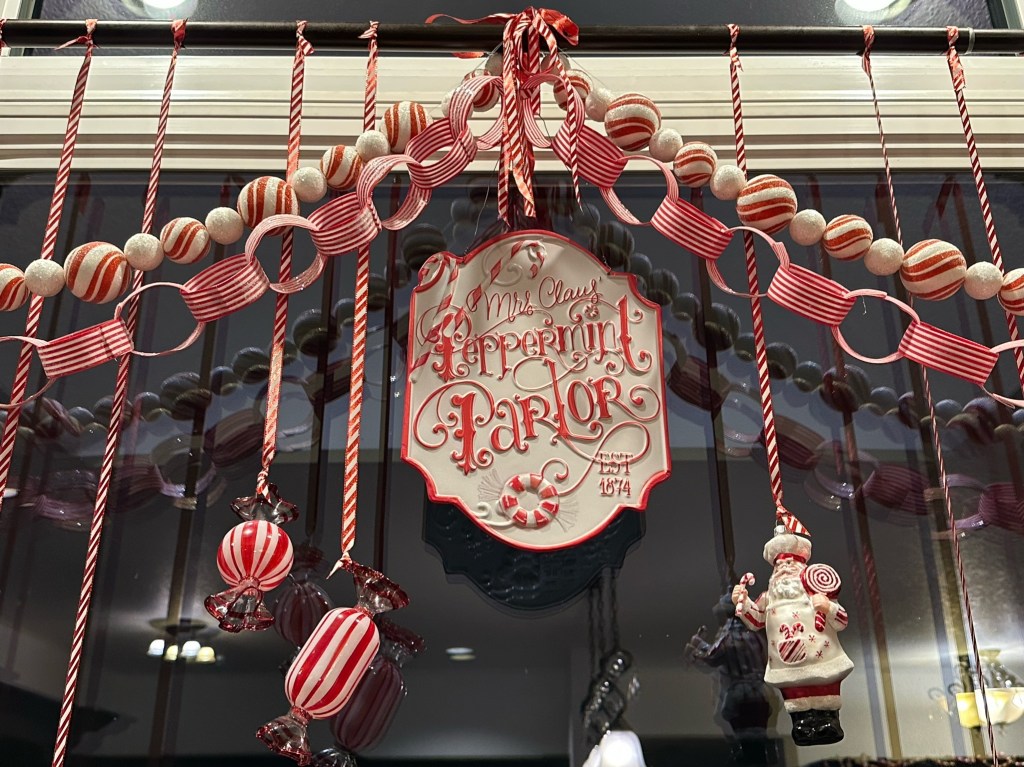
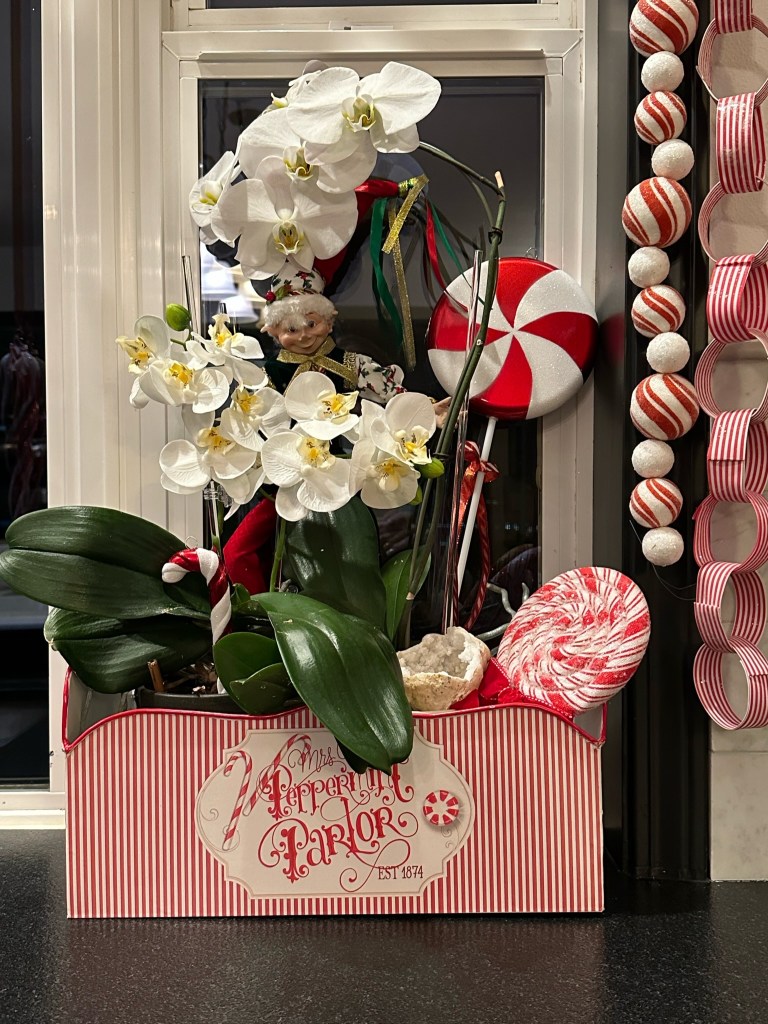
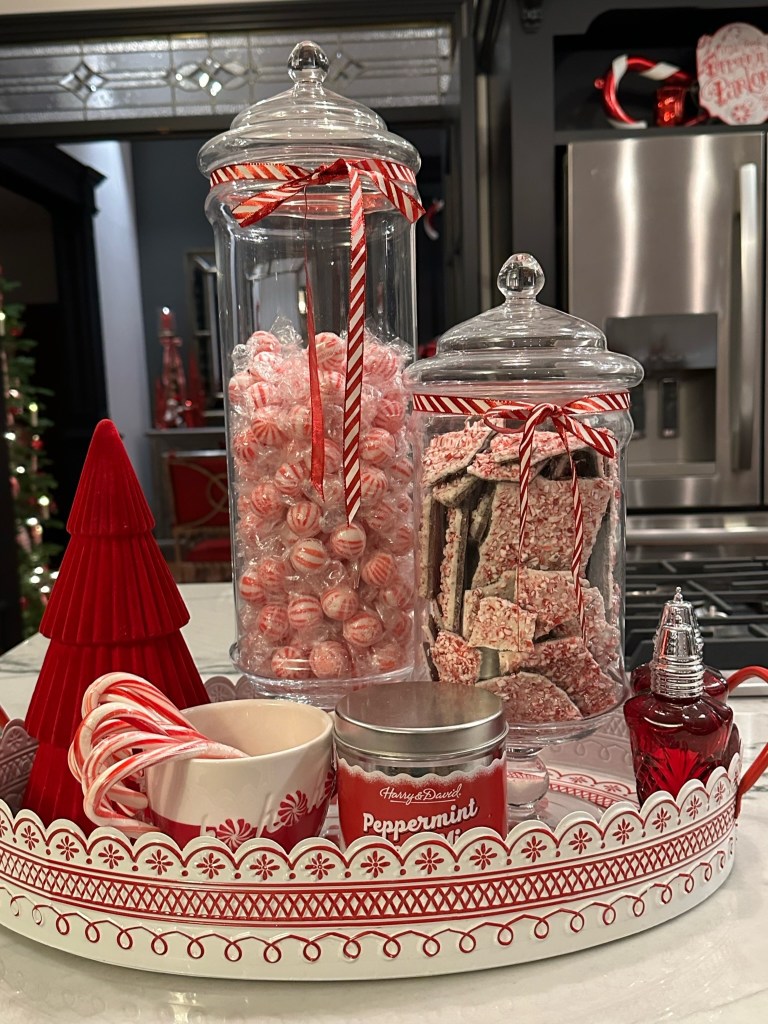
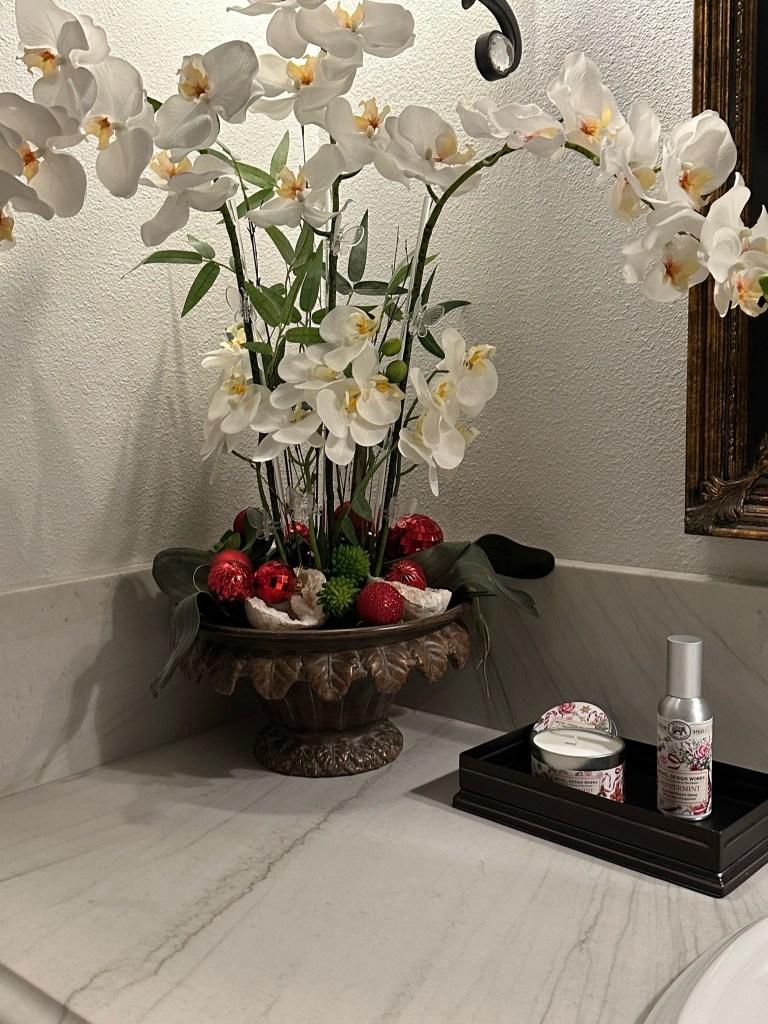
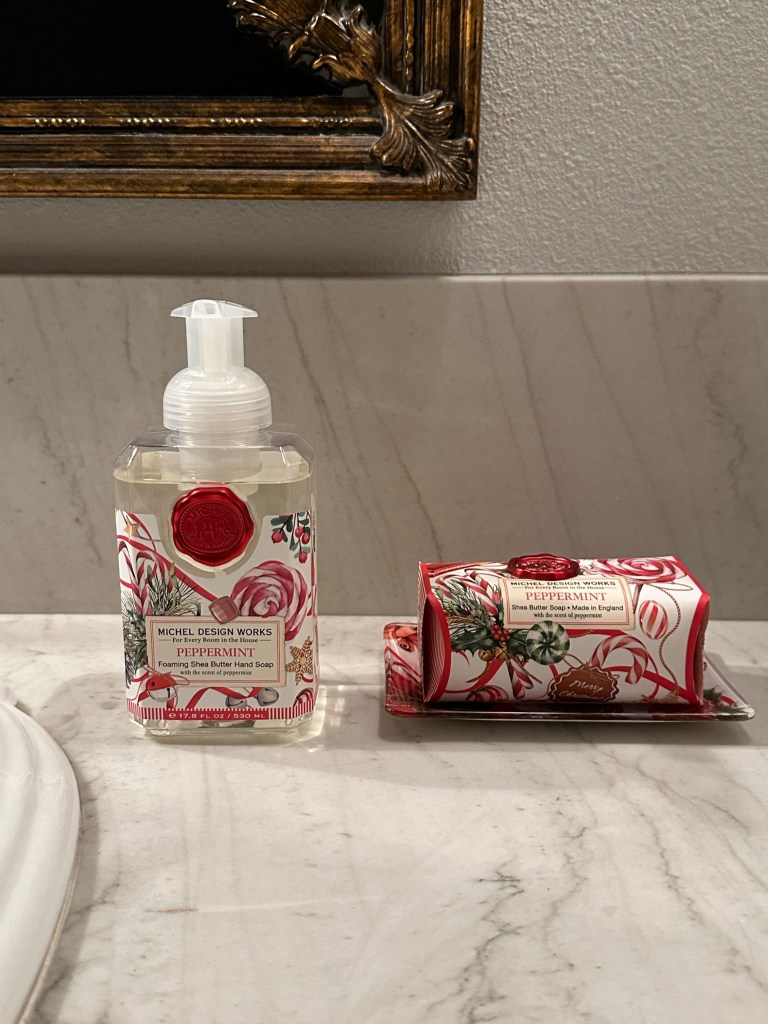
For the Kitchen, I was excited to bring the theme to the large sink window. The glass ornaments were bought at extreme clearance prices (up to 90% off) at Alsip Nursery and at Zgallerie! On one side, I used a Mrs. Clause Peppermint Parlor metal container for my orchids. An Elf is hiding out and holding the large peppermint sucker. On the island, I used the Mrs. Clause metal tray to connect the various items. Above the refrigerator, another metal sign and large candy canes and more votives flicker. In the cabinet space next to the ovens, another sleigh and themed plates are on display with tea towels below. On the countertop, more ornaments and candy canes. I found the Michel Design Works products for hand soap and napkins for here and in the bathroom (don’t forget to use coupon codes and sales to your advantage).


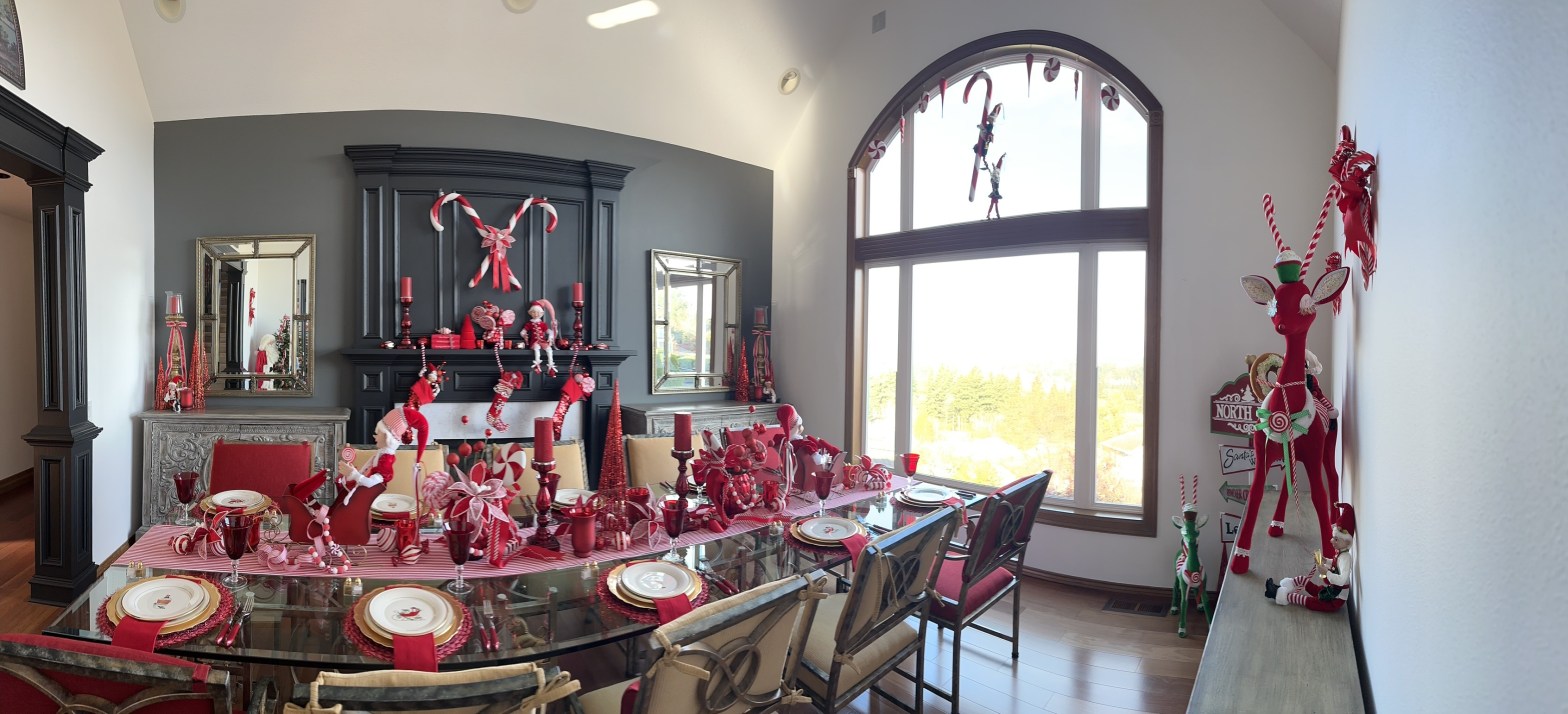
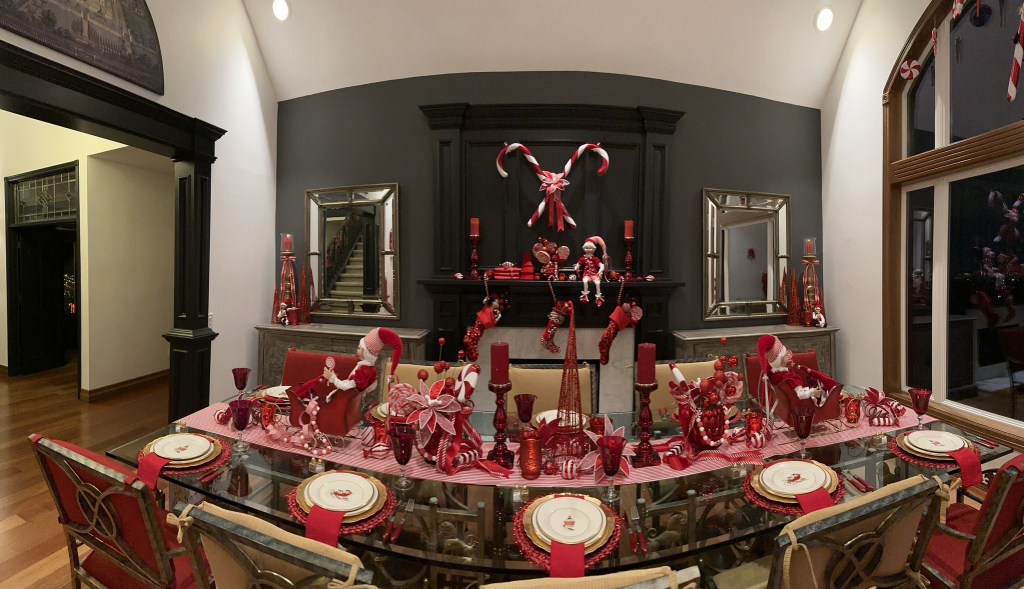
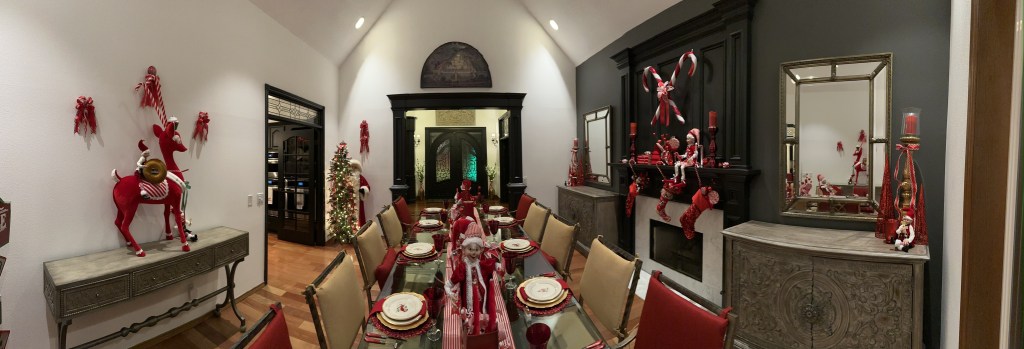
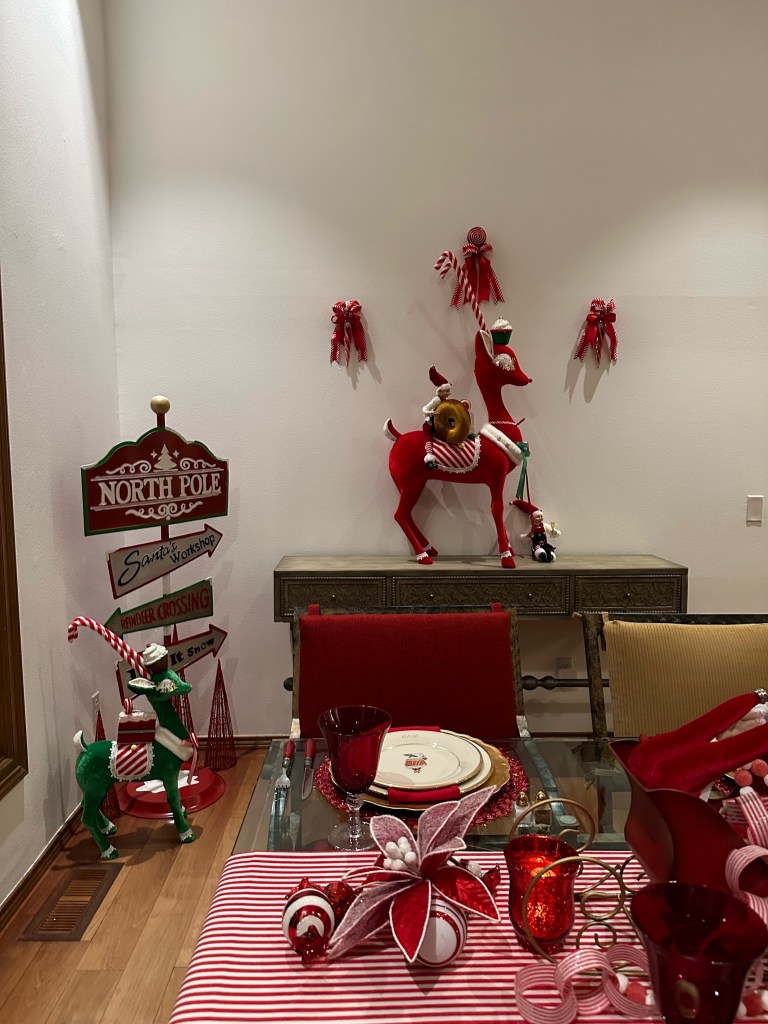
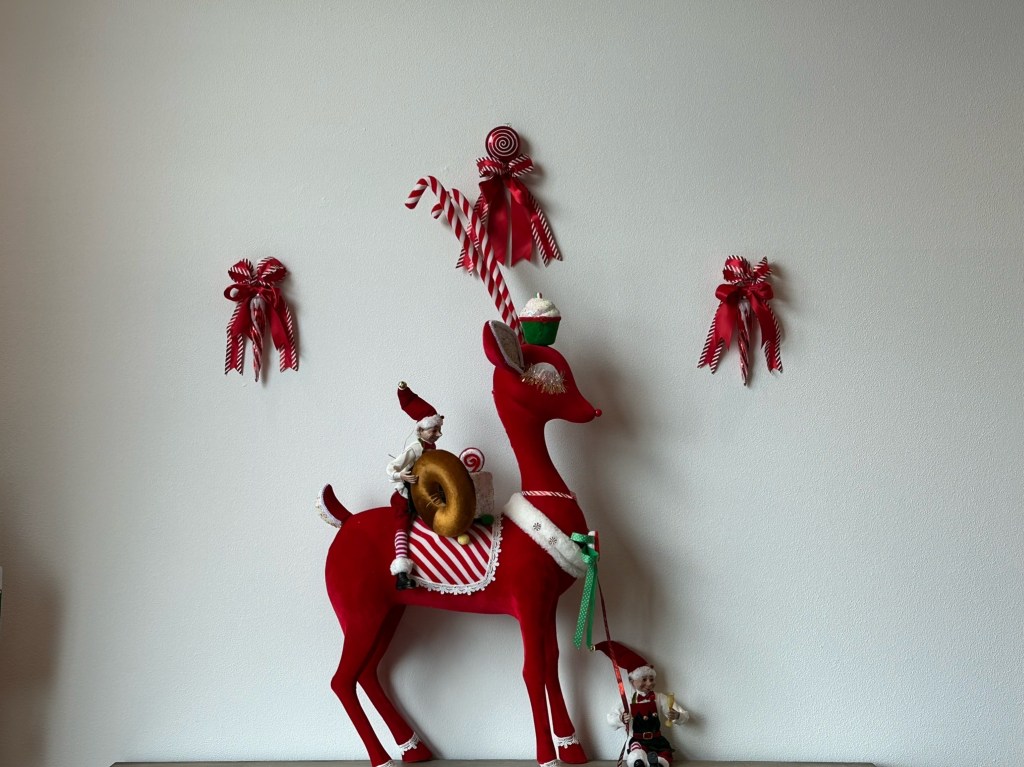
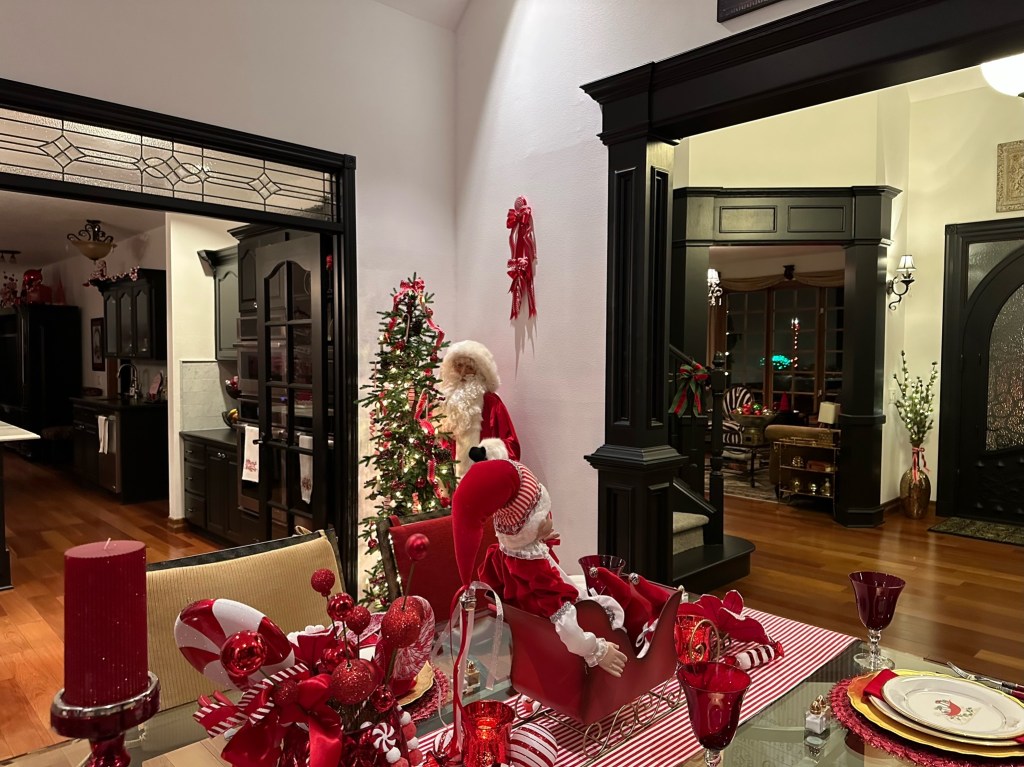
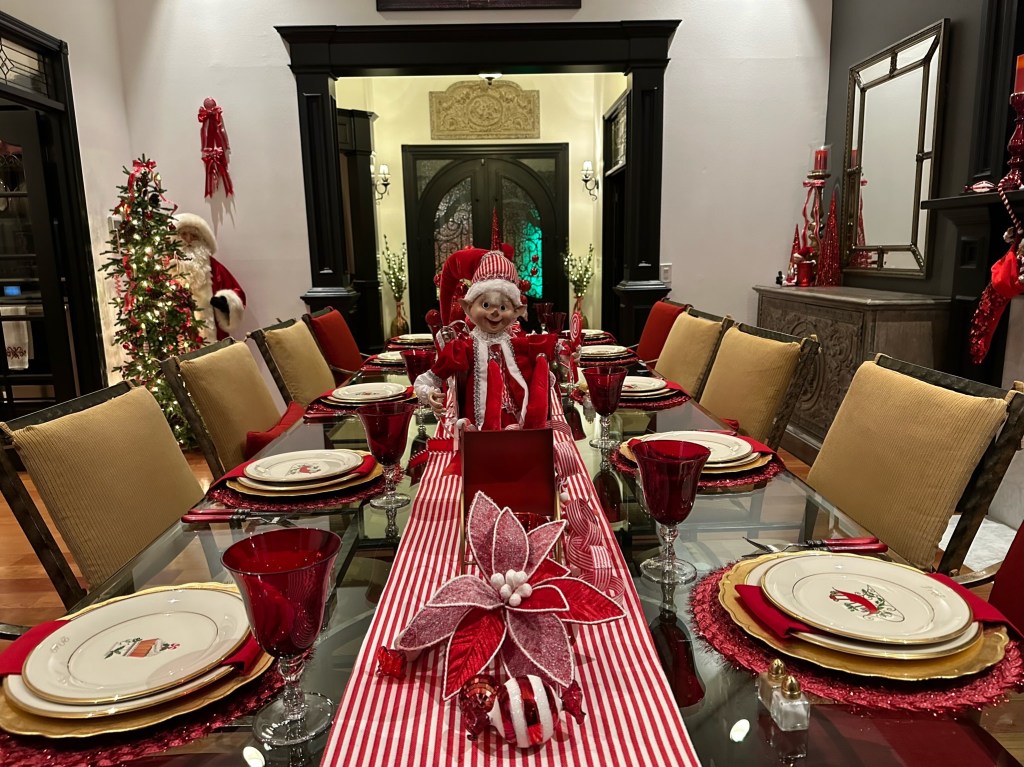
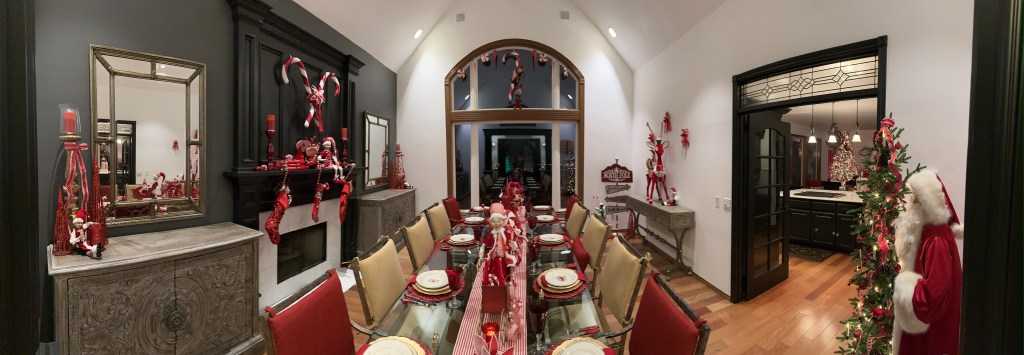
The next Peppermint Parlor project was the Dining Room. Again, this was one of the easiest themes to put together. No large or small floral arrangements. In the large window, I simply hung the ornaments and an extra-large candy cane and placed the elves. For the table, I again used the striped side of the reversible table runner, as in the dinette area, and spaced out the sleighs, red mercury glass candlesticks and large red mercury glass hurricanes, with the glitter cone tree at the center. I made candy arrangements in the hurricanes, again simply sticking them in the vessel with one red ball spray, one frosty poinsettia, and long tail bows tied on the large suckers. I placed one large Elf in each sleigh, and had the various garlands spill out onto the runner. I grouped glass ornaments together and placed the red votives. For the place settings, I layered red placements, gold chargers, Lenox Eternal dinner plates, and the annual accent plates of the sleigh and peppermint candy cupcake. I used red glass water goblets, red handled flatware, and red napkins (for a clean look and not to cover the plate designs, I simply folded the napkins and let them drape between the plates.) I used my regular gold chair cushions, except for the arm chairs where I used red. I placed the matching lumber pillows at the center chairs. For the fireplace mantel, I hung two extra-large candy canes, crossing them to mimic the tree top. Two large red mercury candlesticks at each end give height and balance the various items across the mantel. Three glittering stockings hang from candy canes and are filled with more whimsy. Atop the side chests and filling the corners of the room are the large Candlesticks simply dressed with long tail peppermint ribbon bows. An elf relaxes, sipping some wine. In the opposite corner of the window, the North Pole sign explains the presence of reindeer. On the side table, elves are leading a reindeer carrying dessert, but the lead elf decided to take a little break. In the other corner of the room, Santa holds a Christmas tree adorned with ornaments and candy canes. The bows and ornaments floating on the walls are to fill the space as well as hide hooks for the Venetian masks that normally hang there.


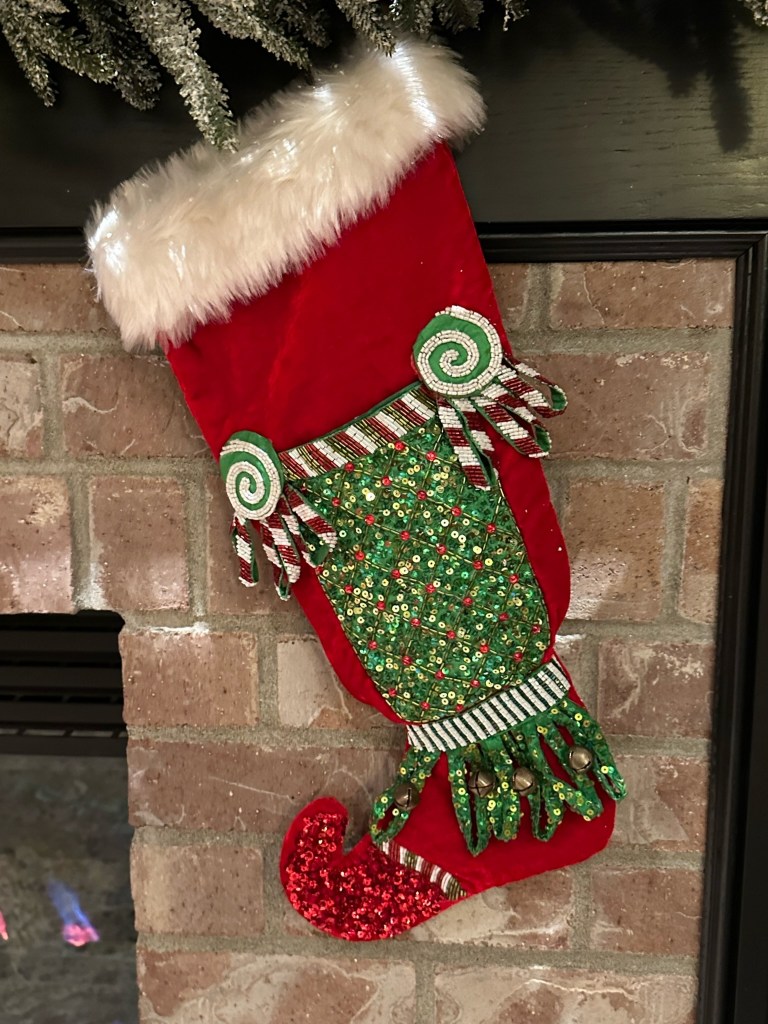
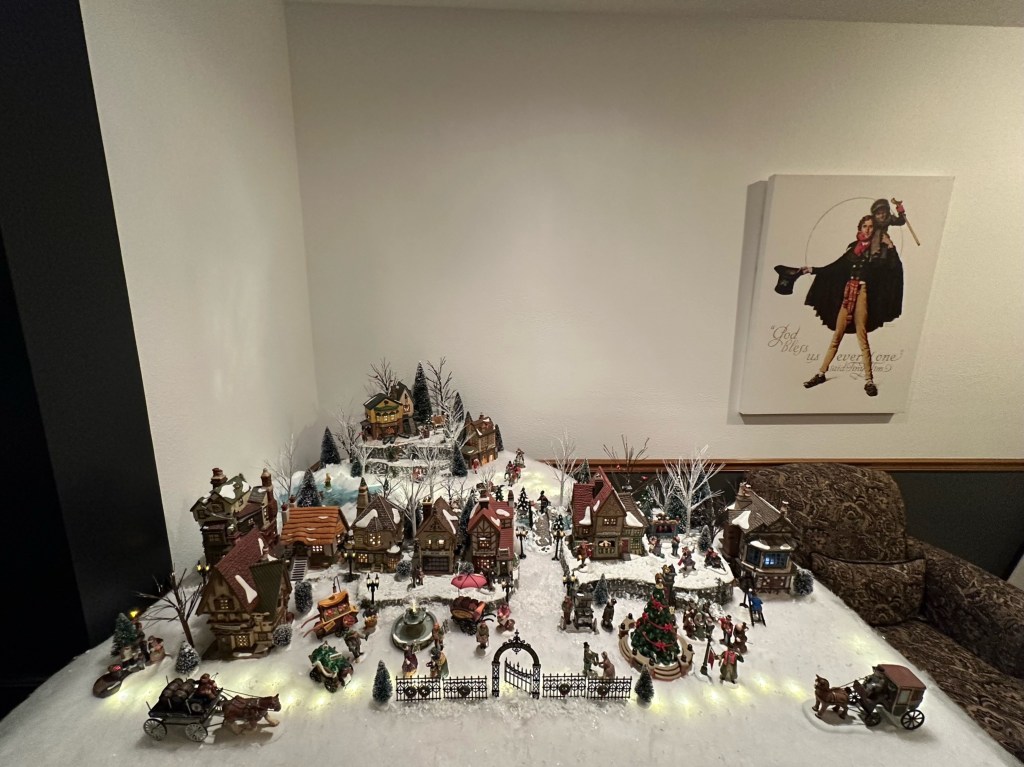
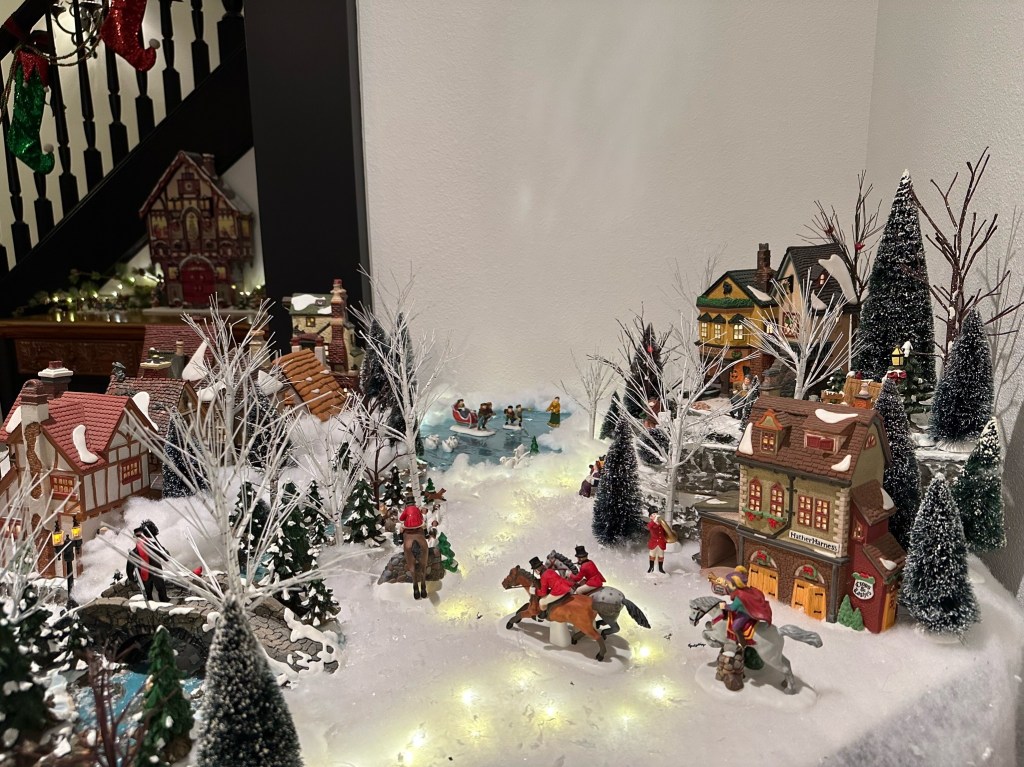
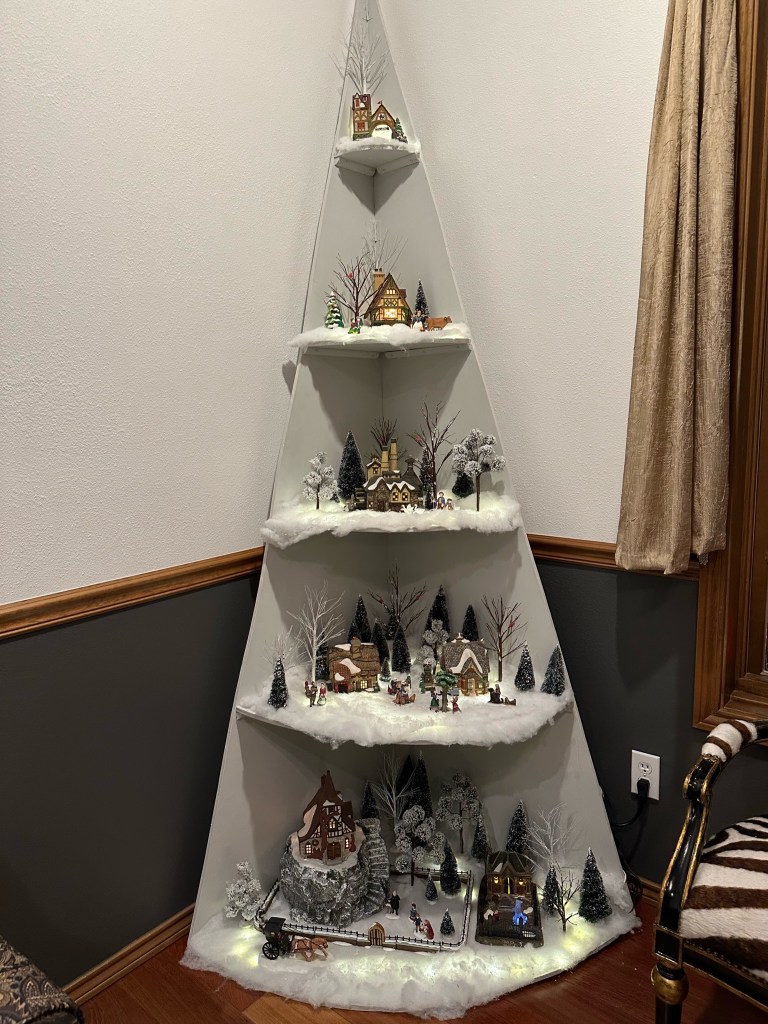
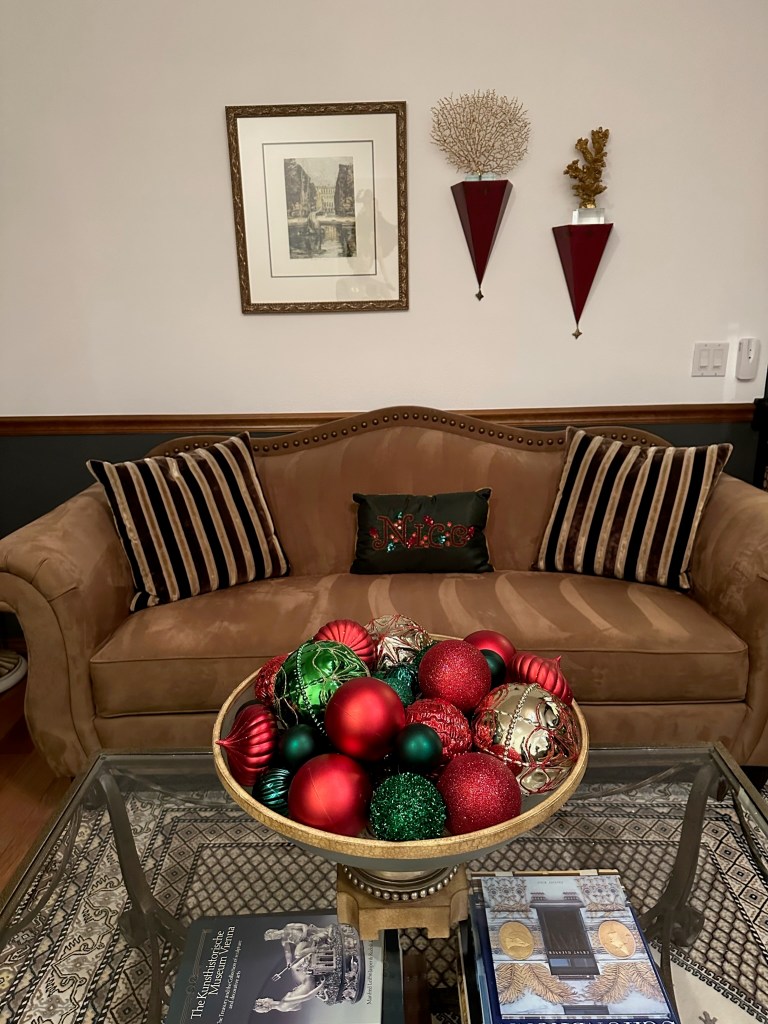
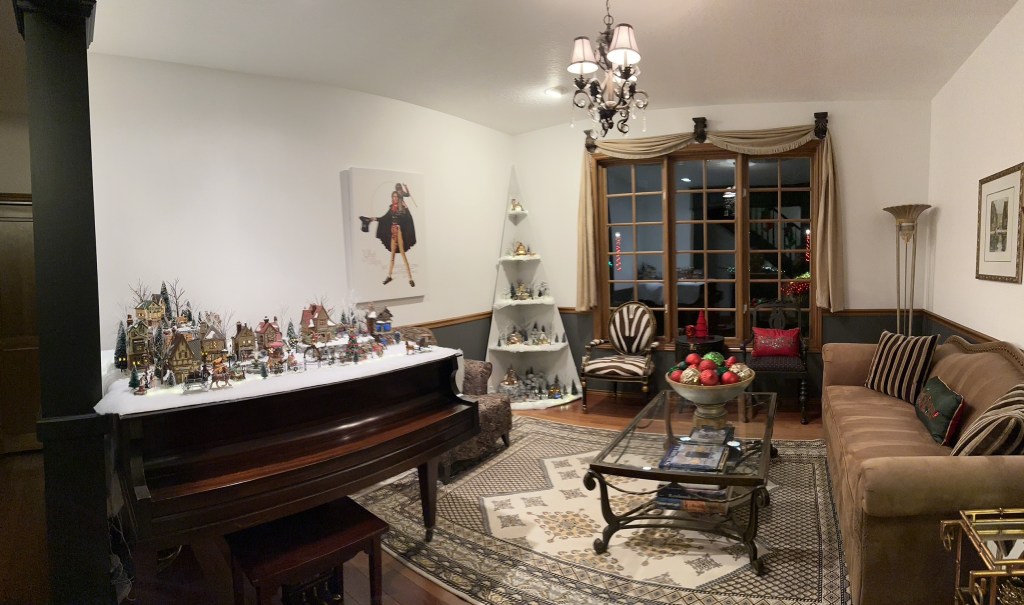
From the Foyer, guests can see into the Dining room and to their left the garland and stockings hanging on the bannister. As this space is connected to the living room where the tradition is to display the Dept 56 Dicken’s Village, the color theme is traditional red & green. A beautiful green and red velvet ribbon ties the simple beaded garland to the bannister. On the opposite side is a bow, so it is pretty from all angles. I used elf stockings to coordinate with the other spaces. Atop the wine chest, the Alpine House Advent Calendar will hold treats for the kids as we count down to Christmas Day. The large vessel on the coffee table is filled with various red & green ornaments. Pillows are changed out on the couch and side chair. Through the window, you can see the glow of the outside lights in red, green and white with a few poinsettias and candy canes as well.


Now, we spend our evenings with the fire glowing and the lights glistening, enjoying the whimsy of elves and peppermint candy surrounding us as we sip hot cocoa with marshmallows or whipped cream.
I hope you enjoyed seeing this theme come to life. Traditions are wonderful, especially decorating at holiday time. If you want to try out something new and change it up one year without the commitment to reuse it or store it, and if you live in the Greater Portland area in Oregon, remember to reach out to me for rental of a theme! If you want to refresh or customize a look using what you already have, contact me for a consultation.
Merry Christmas and Happy New Year! God Bless us everyone!


I love the grand idea of an elf pouring the bountiful garlands around the tree! What a fun and creative idea to start the whole theme!
LikeLiked by 1 person